Hello Kitty Crochet Hat: A Cute, Beginner-Friendly Beanie Guide
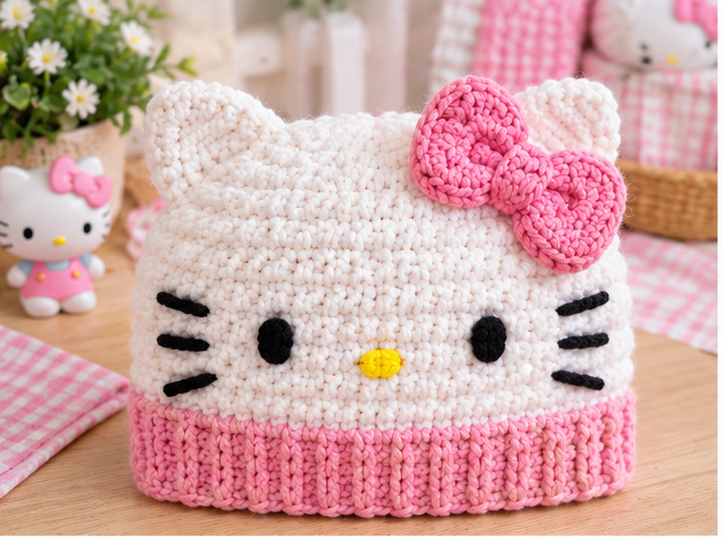
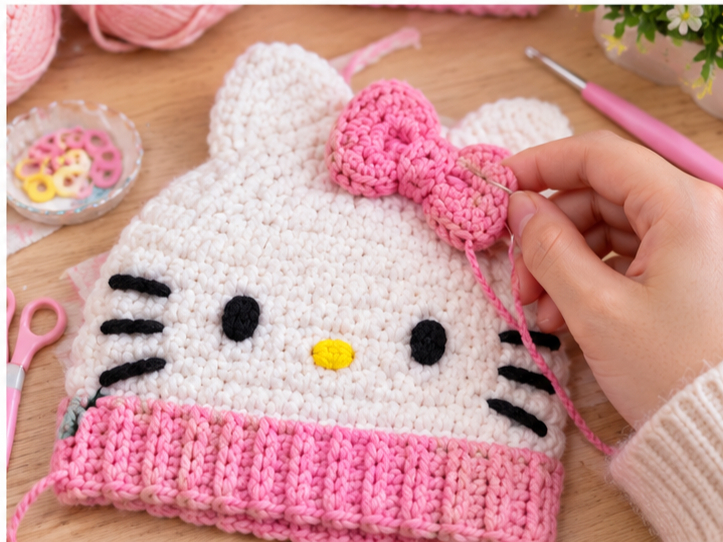
A Hello Kitty crochet hat turns a simple beanie into a playful accessory. The white face shape, little ears, and signature bow make it instantly recognizable, and the basic construction is more approachable than it looks. If you can crochet in the round, you can make one.
This guide covers materials, the basic construction, finishing tips, current crochet trends, and answers to common questions about yarn amounts, time, and pricing.
What Makes This Hello Kitty Crochet Hat Special
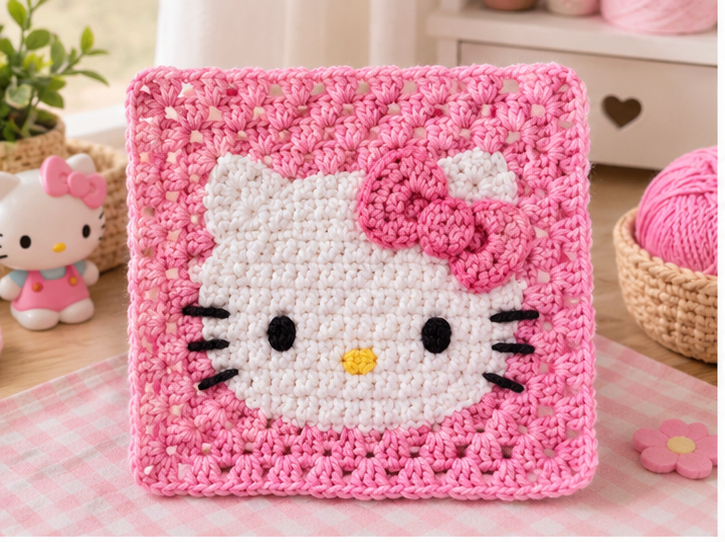
Hello Kitty’s design is built from simple shapes: a rounded head, two small ears, a bow, and a minimal face. That makes it well suited to crochet. Nearly everything is a circle, a flat oval, or a few lines of embroidery.
People make this style of hat for a few reasons. It’s a fun gift for fans of the character. It’s a good way to practice shaping and embroidery. And handmade versions can be customized in size, color, and softness in ways store-bought hats usually can’t. If you’re wondering where to buy a Hello Kitty hat, Sanrio’s official shops and licensed retailers carry officially made ones, while handmade sellers offer custom crochet versions.
Materials You May Need
Exact needs depend on the size and look you choose, but most versions use:
- Main yarn: white or off-white for the base. Soft acrylic or acrylic-blend yarn is a practical choice because it’s easy to wash.
- Accent yarn: red or pink for the bow, black for the eyes, and yellow for the nose.
- Crochet hook: the size recommended on your yarn label, or one size smaller for a denser fabric.
- Yarn needle: for sewing pieces on and embroidering the face.
- Stitch marker, scissors, and a measuring tape.
- Small amount of fiberfill (optional): helpful if you want a padded bow.
- Pins or clips: for testing ear and bow placement before sewing.
How to Make It
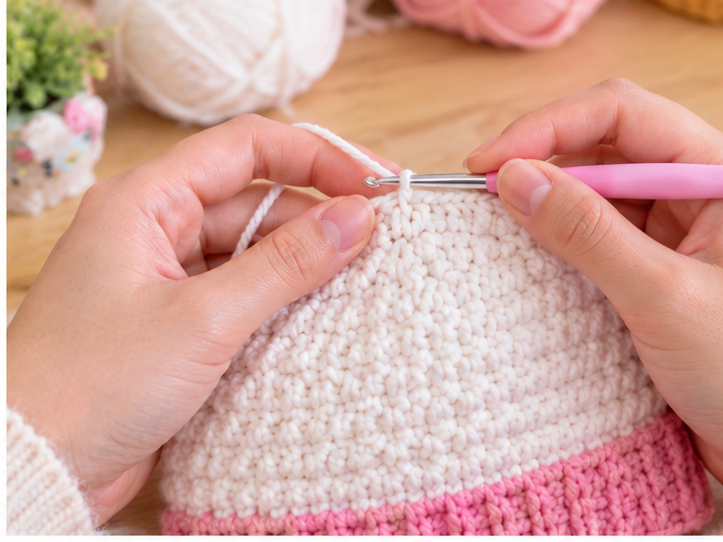
These steps describe a general beanie with added ears, bow, and face. Adjust them to suit your yarn and head size.
1. Make the Crown
Work in continuous rounds with a stitch marker. Start with a magic ring and 6 sc.
- Round 1: 6 sc in the ring
- Round 2: inc in each stitch (12)
- Round 3: (sc, inc) around (18)
- Round 4: (2 sc, inc) around (24)
Keep adding one plain stitch between increases each round. Stop increasing when the flat circle is roughly 5 to 5.5 inches across for a child, or about 6 to 6.5 inches for an adult in worsted-weight yarn. The circle should lie flat without cupping or ruffling.
2. Work the Body
Crochet even rounds, with no increases, until the hat reaches your target height. For an adult, this is often around 7.5 to 8 inches from the center of the crown to the edge. Measure the intended wearer’s head first, since sizes vary. Add a few extra rounds if you want a folded brim.
3. Finish the Edge
Add a round of sc, a ribbed edge, or a row of slip stitches for a neat, stretchy border. Fasten off and weave in the ends.
4. Make the Ears
Make two small ears. A simple method is to crochet a small flat circle (6 sc in a magic ring, increase to 12, then work one or two even rounds), then flatten and shape it into a rounded triangle. Ear size is a design choice, so make a test ear and hold it against the hat before committing.
5. Make the Bow
The bow can be a small rectangle pinched in the middle and wrapped with a strand of yarn, or a small oval loop with a center knot. Red or pink are the classic choices, but any color works.
6. Add the Face
Embroider the face rather than using plastic pieces. Use two black ovals for the eyes and a small yellow oval for the nose. Add whiskers with black yarn or embroidery thread if you like. Place the features low on the hat’s front, close together, and check that they’re level before stitching.
7. Assemble
Pin the ears to the crown, angled slightly outward. Sew them on with matching yarn, then attach the bow near one ear. Try the hat on if you can to check placement.
Tips for a Better Result
- Pick soft, smooth yarn. A hat sits against the forehead and ears, so scratchy fiber is noticeable. Look for yarns labeled soft or baby-friendly.
- Choose a clean white. Bright white makes the red bow and black features stand out.
- Keep your tension even. Uneven stitches show more in a plain, solid-color hat.
- Check size as you go. Measure the flat crown before you start the body.
- Use a slightly smaller hook for ears and bow. A tighter fabric helps them hold their shape.
- Block lightly if needed. Gently steaming or wet-blocking (depending on your yarn) can smooth the shape. Check the yarn label first, since some acrylics can lose their texture when heated.
Top 4 Crochet Trends
Nostalgic Kawaii Characters
Cute character crafts continue to be popular among crocheters. To follow this trend, keep your Hello Kitty hat true to the character’s simple shapes and use a classic red bow.
Chunky Yarn Projects
Many crocheters like fast, cozy projects in thick yarn. Try a bulky yarn version with a larger hook for a soft, oversized beanie. It works up quickly, though the face details will look bigger.
Textured Stitches
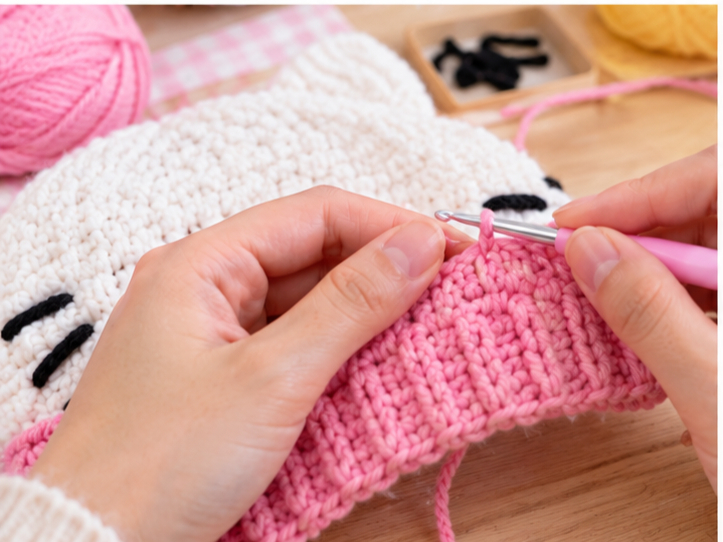
Stitches like waffle, ribbing, or bobbles add visual interest to plain hats. You could use a ribbed brim or subtle texture on the body while keeping the front smooth for the face.
Hand-Embroidered Details
Embroidery adds charm and avoids hard plastic parts. Use it for the eyes, nose, and whiskers, or add small extras like a tiny heart or stitched stars on the bow.
Styling / Ideas
- Gift it to a fan of the character. Pair it with matching mittens or a scarf.
- Try new colors. Pink, lavender, or light blue versions can give the design a fresh feel.
- Make a mini version as an ornament or keychain using the same face and ears.
- Add a pom-pom on top for a winter twist.
- Make it pet-sized only if you’re careful. Some cats tolerate lightweight clothing, but many don’t, so supervise closely and skip small parts or loose threads.
- Use it as a photo prop for newborn or toddler photos, with embroidered features only.
FAQs
How many yards of yarn does a Hello Kitty crochet hat take?
It depends on size and yarn weight. As a rough guide, an adult worsted-weight beanie often uses about 150 to 200 yards, and bulky yarn uses less. Extras like ears and a bow need only small amounts. Always check your gauge, and buy a little extra.
How many hours does it take to crochet a hat?
A simple beanie often takes a few hours for an experienced crocheter and longer for a beginner. Add extra time for the ears, bow, and embroidery.
Is this project good for beginners, and can crochet be self-taught?
Yes to both. Crochet can be learned from books and video tutorials. If you know the magic ring, single crochet, and increases, you can make this hat. Embroidery is the trickiest part, so practice on a scrap swatch first.
How much should I charge for a handmade crochet hat?
Add up the cost of materials and the hours you spent, and multiply time by a fair hourly rate. Prices vary widely by region and skill. Keep in mind that Hello Kitty is a Sanrio trademark, so selling character items may raise licensing issues. Check the rules before selling, or sell an original animal-eared design instead.
Conclusion
A Hello Kitty crochet hat is a rewarding project that combines basic beanie construction with simple shaping and embroidery. Use soft yarn, measure as you go, and keep the details simple, and you’ll end up with a warm, cheerful hat that’s fun to wear or give.