Hello Kitty Amigurumi: A Beginner-Friendly Guide to Crocheting the Classic Kawaii Cat
Few characters translate to yarn as naturally as Hello Kitty. Her wide white head, tiny triangle ears, and oversized bow are simple shapes, which makes Hello Kitty amigurumi a good project for anyone comfortable with a magic ring and basic increases and decreases. This guide covers the materials, the general construction, finishing tips, and answers to the questions crocheters ask most, so you can plan your own version with confidence.
What Makes Hello Kitty Amigurumi So Special
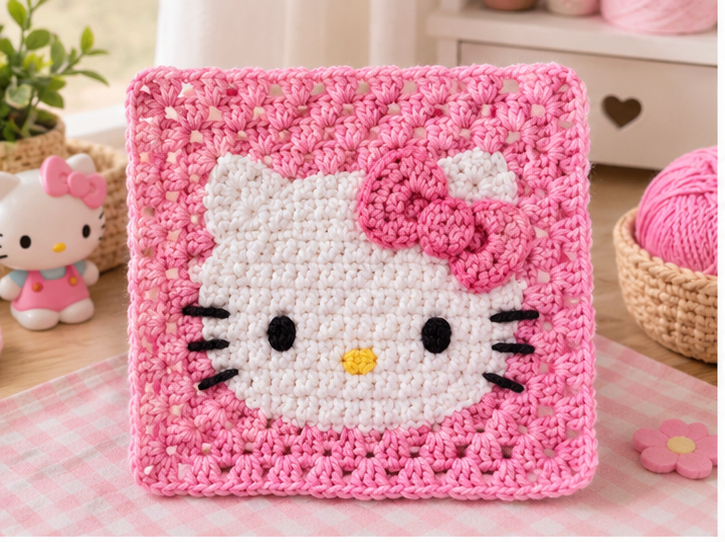
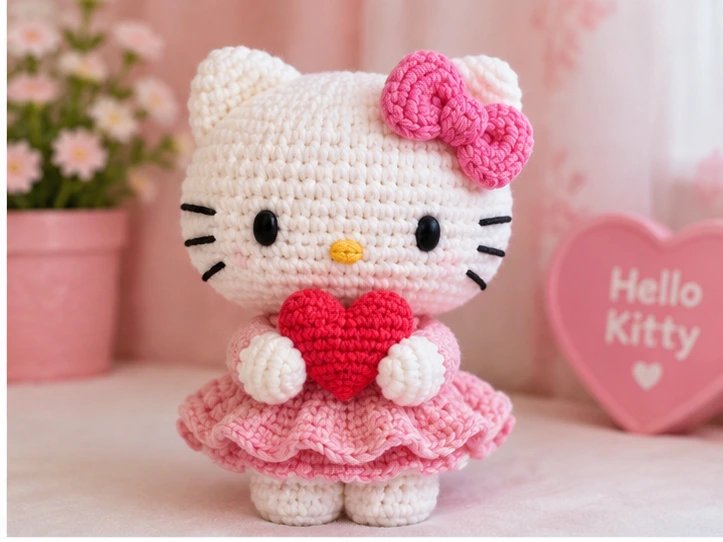
Hello Kitty’s charm is her simplicity. She has a wide, slightly squat head, small oval eyes, a yellow nose, and whiskers. She famously has no mouth, which suits amigurumi well because there’s less to embroider and less to go wrong. That minimalism is part of what people call kawaii crochet: soft rounded shapes, tiny features, and a sweet, simple face.
The bow gives you room to personalize the toy. It’s usually red, but pink, blue, and seasonal colors all work. The result makes a good gift, bag charm, or shelf display piece.
Materials You May Need
Exact requirements depend on the pattern and the size you want, but most versions use:
- Yarn: white or off-white for the head and body, plus a small amount each of red (or your bow color), yellow, and black
- Crochet hook: usually a size smaller than the yarn label suggests, so the fabric is tight enough to hide stuffing
- Polyester fiberfill
- Eyes and nose: small black safety eyes or embroidery thread; yellow yarn or felt for the nose
- Embroidery thread for whiskers
- Tapestry needle, scissors, and a stitch marker
Cotton yarn gives crisp stitches and holds its shape. Acrylic is soft, affordable, and easy to find. Either works, but cotton tends to show fewer gaps.
How to Make It
Most Hello Kitty patterns follow the same logic. The steps below are a general framework, not a complete pattern, so your stitch counts and proportions may differ depending on the design you follow.
Choosing a Pattern
Free patterns turn up on crochet blogs, video tutorials, and community pattern sites, and some craft stores post free patterns on their websites (availability varies). For a first attempt, look for a pattern with clear round-by-round counts and photos.
Start With the Head
Work in continuous rounds with a stitch marker. A common sphere-shaping sequence looks like this:
- Round 1: 6 sc in a magic ring (6)
- Round 2: inc in each stitch (12)
- Round 3: sc, inc around (18)
- Round 4: 2 sc, inc around (24)
- Round 5: 3 sc, inc around (30)
- Round 6: 4 sc, inc around (36)
Hello Kitty’s head is wider than it is tall, so work only a handful of even rounds (sc around, 36) before decreasing. Then reverse the increases: 4 sc, dec (30), 3 sc, dec (24), 2 sc, dec (18). Stuff firmly, then sc, dec (12), and dec around until closed.
Make the Body
The body is small. Start with a magic ring, increase to around 18 to 24 stitches, work several even rounds, and decrease slightly toward the top. Stuff lightly so the head doesn’t tip over. Arms and legs can be tiny stuffed ovals or simple flat pieces sewn on.
Ears, Bow, and Details
Ears are small triangles or half-circles, worked flat and sewn on. For the bow, crochet a short rectangle, pinch it in the middle, and wrap yarn around the center. Sew it near one ear.
Assemble and Add the Face
Pin the ears and bow before sewing to check symmetry. Place the eyes low and wide-set, with the nose centered between them. Embroider three whiskers on each side with straight stitches. Skip the mouth.
Tips for a Better Result
- Keep tension tight and even. Loose stitches let white fiberfill show through, which is especially noticeable on pale yarn.
- Stuff as you go. Add small pieces of filling rather than large clumps to avoid lumps.
- Check symmetry from the front. Ears, eyes, and whiskers should mirror each other before you commit to sewing.
- Use pins liberally. Position everything and step back before stitching.
- Sew ears and bow securely. These pieces get handled the most.
- Hide your ends. Weave in tails inside the toy for a clean finish.
Top 4 Crochet Trends
Bag Charms and Keychains
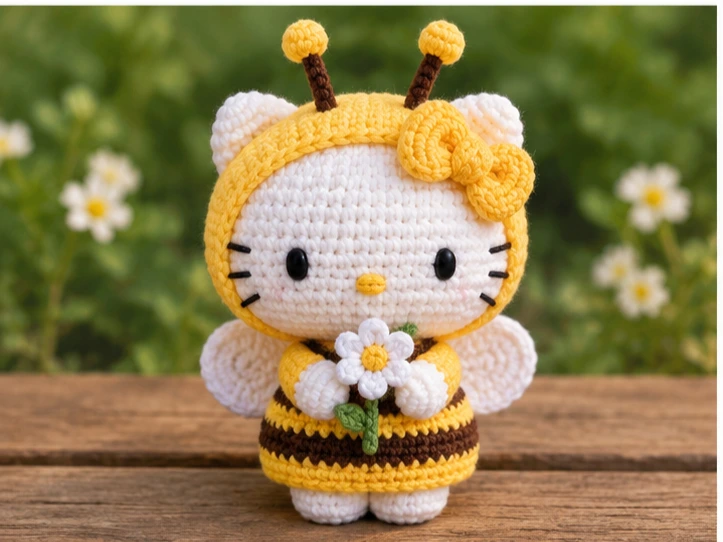
Mini crochet accessories are popular because they use little yarn and finish quickly. Make a small Hello Kitty by using thinner yarn and a smaller hook, or by following a pattern written for a mini size. Add a keyring loop or lobster clasp at the top of the head.
Simple Kawaii Faces
Minimal facial features have become a signature look in cute amigurumi. Hello Kitty already fits the style. Try embroidered eyes instead of plastic ones for a flatter, softer look, and keep the whiskers thin and evenly spaced.
Soft, Plush-Style Yarns
Many crocheters like ultra-soft yarns for a plush-toy feel. If you try one on this project, remember that fuzzy or velvety yarns can hide stitch definition. They’re better suited to the body than to the face, where clean shapes matter.
Dress-Up and Themed Outfits
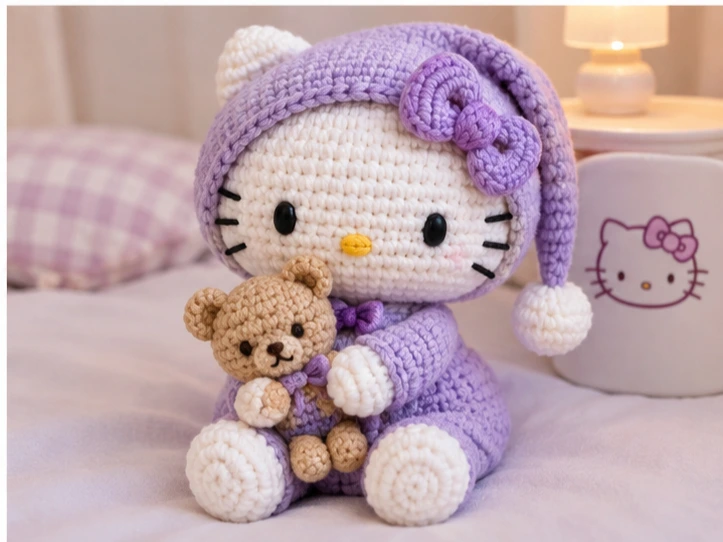
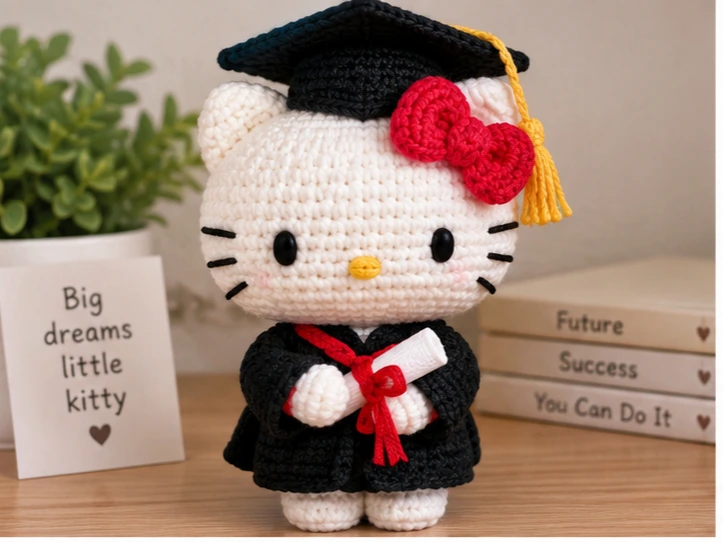
Small wardrobe pieces, like a tiny dress, overalls, or a hat, let one toy have several looks. Crochet a simple outfit in a contrasting color and make it removable so the toy can change with the season.
Styling / Ideas
- Swap the bow color to match a birthday, holiday, or favorite palette.
- Make a set in different sizes for a display shelf.
- Attach a pin back or magnet for a small decorative piece.
- Package a finished toy as a gift with a handwritten tag.
- Try a sleeping version with closed embroidered eyes.
- Add a scarf or beanie for winter.
FAQs
What yarn is best for Hello Kitty amigurumi?
Cotton yarn gives clean, firm stitches and holds its shape, while acrylic is soft and budget-friendly. Choose a smooth yarn in a true white, since fuzzy yarn can blur small features like whiskers.
Is Hello Kitty amigurumi good for beginners?
It can be, if you already know the magic ring, single crochet, increases, and decreases. The shapes are simple, though matching the head’s proportions and placing the features takes some care.
Can I sell Hello Kitty crochet items?
Hello Kitty is a trademarked and copyrighted Sanrio character, so selling handmade versions can raise legal issues even if you made every stitch yourself. Making one for yourself or as a gift is a different situation. If you want to sell, research Sanrio’s licensing rules or design an original cat character instead. This isn’t legal advice, so check the current rules for your situation.
Why doesn’t Hello Kitty have a mouth?
It’s part of her original design, and it keeps the face simple and expressive. For amigurumi, it also means there’s no mouth to embroider, which helps beginners.
Conclusion
A well-made Hello Kitty amigurumi comes down to tight stitches, even stuffing, and careful feature placement. Choose a clear pattern, pick soft, smooth yarn, and take your time with the face and bow. Once you’ve finished one, try changing the colors, making a mini version, or sewing a tiny outfit.