How to Crochet a Christmas Tree: A Beginner-Friendly Holiday Project
Few holiday crafts feel as cozy as making your own decorations by hand, and a crochet Christmas tree is one of the easiest ways to bring that handmade warmth into your home. Whether you’re stitching up a small ornament for the mantel or a full centerpiece for the coffee table, this project is quick, satisfying, and endlessly customizable. If you’ve been searching for a simple way to add a little yarn craft magic to your holiday decor, this guide walks you through everything from materials to finishing touches.
What Makes This Crochet Project Special
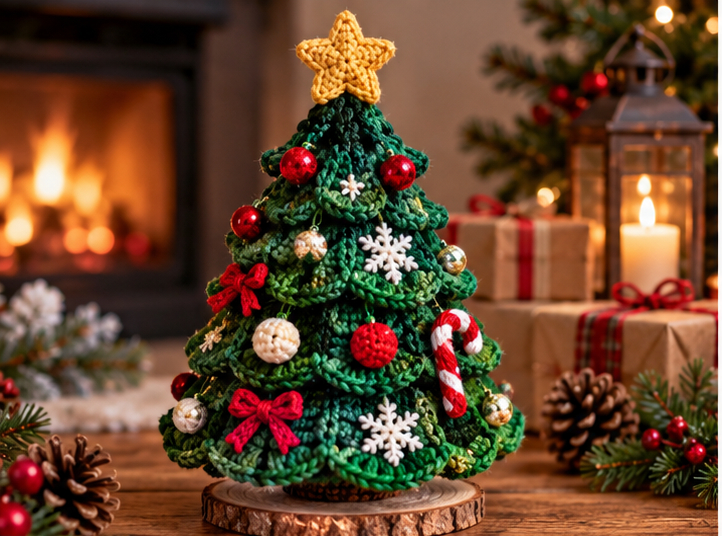
A crochet Christmas tree typically starts as a cone or a stack of graduated circles worked in the round, then gets shaped, stuffed, and finished with a trunk base so it can stand on its own. The appeal is in the simplicity: you don’t need advanced stitch skills to get a charming result, and the shape naturally lends itself to festive styling. Green is the classic choice, but crocheters love experimenting with pastel trees, white “snowy” versions, ombre yarn, or even scrap-yarn trees that use up leftover holiday colors.
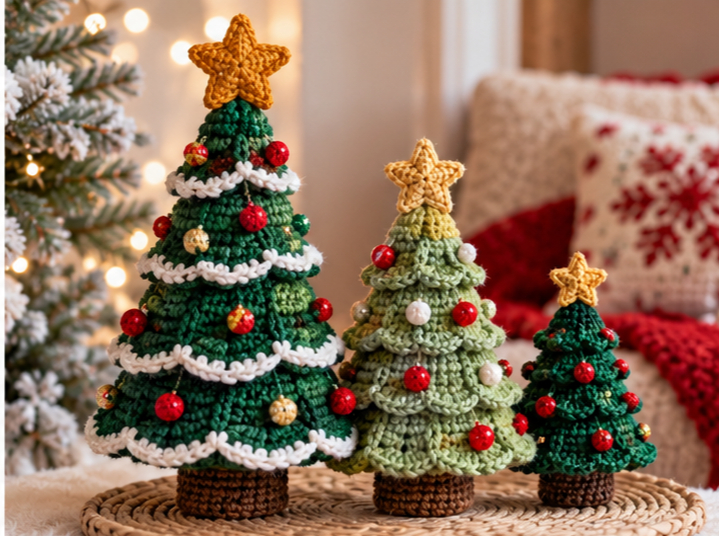
Because the base shape is so simple, this project works equally well as a quick weeknight make or a themed set you build out over several evenings — a windowsill forest of trees in different sizes is a popular way to stretch the pattern.
Materials You May Need
Exact yarn weight, hook size, and finished dimensions will depend on the specific pattern or size you choose to make, but most crochet Christmas tree projects call for a similar core kit:
- Worsted weight yarn in green (or your preferred tree color)
- A small amount of contrasting yarn or thread for garland, lights, or a star topper
- A crochet hook sized appropriately for your chosen yarn weight (check your yarn label as a starting point)
- Polyester fiberfill stuffing
- A yarn or tapestry needle for sewing pieces together and weaving in ends
- Stitch markers to track the beginning of rounds
- Scissors
- Optional: small beads, sequins, or embroidery floss for ornaments; a wooden dowel or cardboard cone for extra structure; a wire or heavier cardstock insert if you want a firmer, more upright shape
If you’re following a specific written pattern, always defer to the materials list provided there, since hook size and yarn weight will change the finished size of your tree.
How to Make It
Starting the Base
Most crochet Christmas trees begin with a magic ring, which lets you close the center tightly with no visible hole. From there, you work in continuous rounds (not joined, unless your pattern specifies otherwise), increasing stitches evenly to create a flat circle. This circle becomes the bottom of the tree or the top of the trunk, depending on the construction method.
Building the Cone Shape
Once your base circle reaches the desired width, you stop increasing and start working even rounds without adding stitches. This is what creates the tapering, cone-like shape of the tree. Some patterns build the tree from the bottom up in a single continuous spiral, gradually decreasing stitches as you approach the top point. Others construct the tree from a stack of separate rounds or “tiers” that get sewn together afterward for a layered, bushier look.
Shaping the Top
As you near the top of the cone, regular decrease rounds bring the stitch count down until only a small opening remains. This is where you’ll either close the tree completely or leave a small gap for stuffing.
Stuffing and Closing
Fill the cone evenly with fiberfill as you work, rather than waiting until the very end. Stuffing gradually helps you avoid lumps and keeps the shape smooth from base to tip. Once you reach the top, cinch the remaining stitches closed and weave in your yarn tail securely.
Adding the Trunk or Base
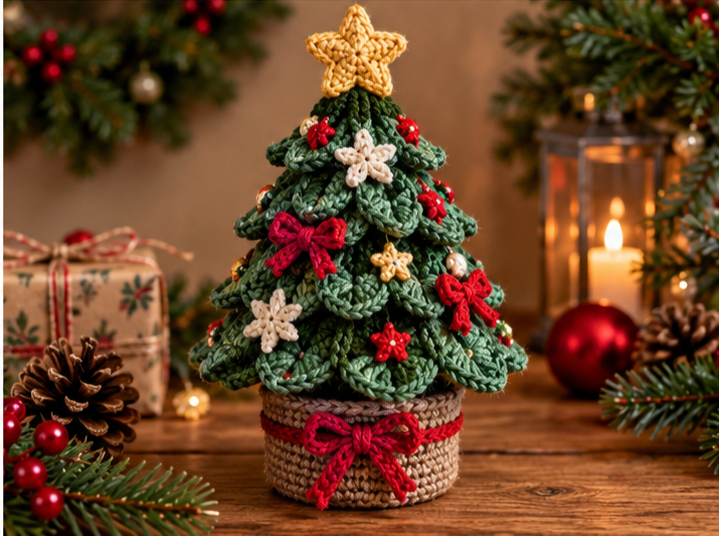
Many patterns include a small contrasting-color piece worked at the bottom to look like a trunk, or a flat circle sewn to the base so the tree stands upright without wobbling. If your tree feels unstable once finished, a flattened cardboard or felt disc glued or sewn inside the base can add extra support.
Tips for a Better Result
Choose yarn with good stitch definition. A smooth worsted weight yarn in a true green shade will hold its shape better than a fuzzy or highly textured yarn, especially for smaller trees where detail matters more.
Watch your tension. Amigurumi-style projects like this rely on a tight, even gauge so the stuffing doesn’t peek through the stitches. If your stitches look loose, try going down a hook size from what the yarn label recommends.
Stuff as you go. Adding fiberfill in small amounts throughout the project, rather than all at once at the end, gives you a much smoother, more even cone shape.
Keep your color changes tidy. If you’re adding stripes, a contrasting trunk, or a garland row, carry yarn loosely up the inside of the work when possible and always weave in ends securely so nothing unravels with handling.
Block if needed. If your tree looks slightly uneven after stuffing, a light steam or a gentle reshaping by hand while the fibers are warm can help even out the cone.
Top 4 Crochet Trends
1. Neutral and Pastel Holiday Palettes
Traditional red-and-green decor is being joined by softer, more neutral holiday color schemes — think sage green, cream, blush pink, and warm taupe. For a crochet Christmas tree, this means you’re not limited to classic forest green. A pastel or neutral-toned tree fits beautifully into modern, Scandinavian-inspired, or minimalist holiday displays.
2. Scrap Yarn and Stash-Busting Projects
More crocheters are embracing “make it from what you have” projects, using up leftover yarn from other makes rather than buying new skeins for every project. A Christmas tree is a natural fit for this trend since its small size and simple construction make it easy to combine several colors or yarn weights into one piece without much fuss.
3. Amigurumi-Style Home Decor
Amigurumi techniques, originally associated with stuffed toys, are increasingly used for seasonal home decor pieces like this one. The same tight-gauge, stuffed-and-shaped approach that makes a good amigurumi animal also makes a sturdy, huggable little tree that holds its shape well on a shelf.
4. Handmade, Small-Batch Gifting
There’s a growing preference for handmade or small-batch gifts over mass-produced decor. A set of crochet Christmas trees in graduated sizes makes a thoughtful, low-cost handmade gift, and it’s simple enough to batch-produce for coworkers, teachers, or neighbors during the holiday season.
Styling and Gift Ideas
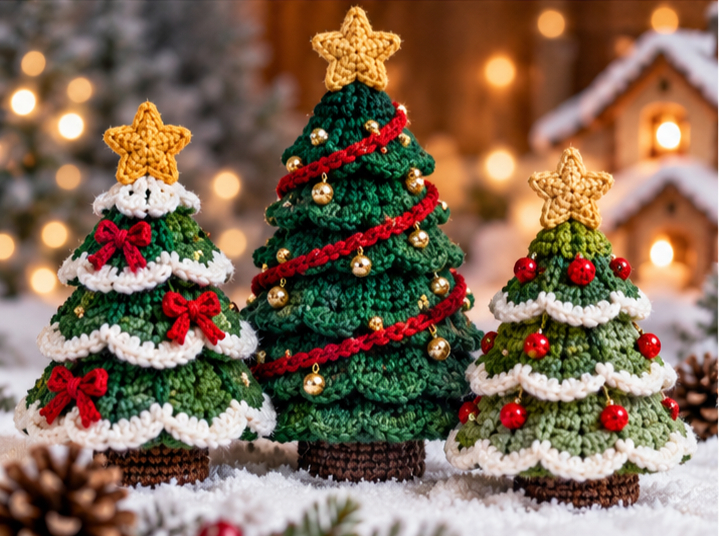
- Group three or more trees in different sizes for a mini “forest” centerpiece on a table or mantel.
- Add a small pom-pom, button, or crocheted star to the top as a simple tree topper.
- Sew on tiny beads or French knots in a contrasting color to mimic ornaments or string lights.
- Attach a loop of yarn to the top of a smaller tree and hang it as an ornament on your real tree.
- Package a set of finished trees in a small box or gift bag tied with ribbon for an easy handmade present.
- Use white or cream yarn and a dusting of craft glitter for a “snowy” version.
FAQs
Is crocheting a Christmas tree a good project for beginners? Yes. The basic version relies on simple techniques like working in the round, increasing, and decreasing, which makes it approachable even if you’ve only made a few amigurumi projects before.
What size hook and yarn should I use? This depends on how large you want your finished tree to be and which specific pattern you follow. As a general rule, worsted weight yarn paired with a hook one size smaller than the yarn label recommends will give you a firmer, amigurumi-style fabric that holds stuffing well.
How long does it take to crochet a Christmas tree? A small tree can often be finished in under an hour once you’re comfortable with the basic stitches, while larger or more detailed versions with multiple pieces and embellishments may take a few hours spread across more than one sitting.
Can I make the tree bigger or smaller than the pattern I’m using? You can adjust the size by using a thicker or thinner yarn and a correspondingly larger or smaller hook, or by adding extra rounds to the body before you begin decreasing. Keep in mind that changing yarn weight will also change how much stuffing and yarn you need.
Is there a free pattern available for crocheting Christmas trees? Many independent crochet designers and blogs share free Christmas tree patterns, particularly during the fall and early winter months. Search terms like “free crochet Christmas tree pattern” will turn up a range of options at different difficulty levels; just be sure to check the yarn weight and hook size required before you start.
Can crocheting help reduce stress or serve as a relaxing hobby? Many people find repetitive, rhythmic crafts like crochet genuinely calming, and a small, quick project like a Christmas tree is a nice way to unwind without the pressure of a large, long-term make.
How do I keep my crochet tree standing upright? A flat base round sewn or glued into the bottom of the cone gives the tree a stable foot to stand on. For extra support, especially with taller trees, you can insert a piece of cardboard or a wooden dowel into the trunk area before closing it up.
Final Thoughts
A crochet Christmas tree is one of those projects that delivers a lot of holiday charm for a relatively small amount of yarn and time. Once you understand the basic cone shape, you can play with color, size, and embellishments to make a whole collection that’s entirely your own. Whether you’re stitching one as a quick gift or building a little handmade forest for your own home, this is a project worth adding to your holiday to-do list.