Crochet Top Pattern Guide: How to Make a Wearable Summer Top From Scratch
A good crochet top pattern gives you more than a garment. It gives you a project you can finish in a few weekends, fit to your own body, and wear all season. Crochet tops are also a smart way to build wearable-making skills without committing to a full sweater. They use less yarn, work up quickly, and are easy to adjust as you go.
This guide walks through a practical, beginner-friendly approach to making a crochet top: what to gather, how to shape it, and how to finish it so it looks polished. You’ll also find current style ideas and answers to common questions.
What Makes This Crochet Project Special
Crochet tops are appealing because they’re flexible. A simple top can be a fitted tank, a relaxed boxy tee, a cropped summer piece, or a cover-up for the beach. The construction is usually straightforward, often built from rectangles or squares, which makes it approachable even if you’ve only made scarves and blankets before.
Lightweight fabric is the other draw. Worked in a breathable yarn with an open or textured stitch, a crochet top drapes nicely and layers well over tanks, under jackets, or on its own in warm weather. Because you make it yourself, you also control the length, neckline, strap width, and color, which is hard to find in store-bought tops.
Materials You May Need
Exact specifications depend on the design and your size, so treat this as a general shopping list:
- Yarn: A smooth, drapey yarn in a lightweight or medium weight is a good starting point. Cotton, cotton blends, and other plant-based fibers are popular for tops because they breathe and hold their shape.
- Crochet hook: Check your yarn label for the suggested size, then adjust based on your swatch. A slightly larger hook gives a softer, more flexible fabric.
- Tape measure: Essential for measuring your bust, waist, and desired length.
- Stitch markers: Handy for marking armholes, neckline shaping, and seam points.
- Yarn needle: For weaving in ends and seaming.
- Scissors and pins: Pins help when blocking and lining up panels for seaming.
Yardage varies widely with size and stitch pattern, so look for the yardage estimate in your specific pattern rather than guessing. When in doubt, buy an extra skein from the same dye lot.
How to Make a Crochet Top: Pattern Basics
Most simple tops follow the same basic structure. Here is a general method you can adapt to almost any stitch pattern.
Step 1: Take Your Measurements
Measure around the fullest part of your bust, then decide how much ease you want. For a fitted top, aim for little to no ease. For a relaxed look, add a few inches. Also note your preferred length and how wide you want the shoulders and straps.
Step 2: Crochet a Gauge Swatch
Work a swatch of at least 4 inches square in your chosen stitch, then measure how many stitches and rows fit into 4 inches. This step matters more than it seems. Crochet fabric can stretch or shrink depending on yarn and stitch, and a swatch shows you how the finished top will fit and drape before you invest hours.
Step 3: Make the Front and Back Panels
Multiply your stitches per inch by the panel width you need, then chain that number (plus any turning chains your stitch requires). Work straight rows until the panel reaches the underarm. Make the second panel the same way.
Step 4: Shape the Armholes and Neckline
At the underarm, decrease a few stitches at each edge to create the armhole curve. For the neckline, mark the center stitches, work each shoulder separately, and decrease gradually along the inner edge for a smooth curve. Try the panel against your body or a well-fitting shirt as you go.
Step 5: Seam and Add Straps
Join the shoulders and side seams with a yarn needle or by slip stitching or single crocheting the pieces together. Add straps by working rows or a chain-and-single-crochet band along the neckline and armholes, adjusting the width to suit the style.
Step 6: Finish and Block
Weave in every end securely, then block the top by wetting or steaming it according to your yarn’s care instructions and pinning it to the correct measurements. Blocking evens out stitches and improves drape.
Tips for a Better Result
- Match the yarn to the stitch. Dense stitches suit sturdier yarns, while open patterns need a yarn with good drape.
- Keep tension consistent. Check your work against your swatch every few inches. Tension often changes as you get comfortable.
- Choose color with the stitch in mind. Solid colors show off texture and lace. Variegated yarns can hide it.
- Try it on as you go. Length and armhole depth are much easier to fix before seaming.
- Use a stretchy, neat edging. A simple single crochet border around the neckline and armholes helps the top lie flat.
- Block before seaming when you can, so the panels match in size.
Top 4 Crochet Trends
Granny Square Tops
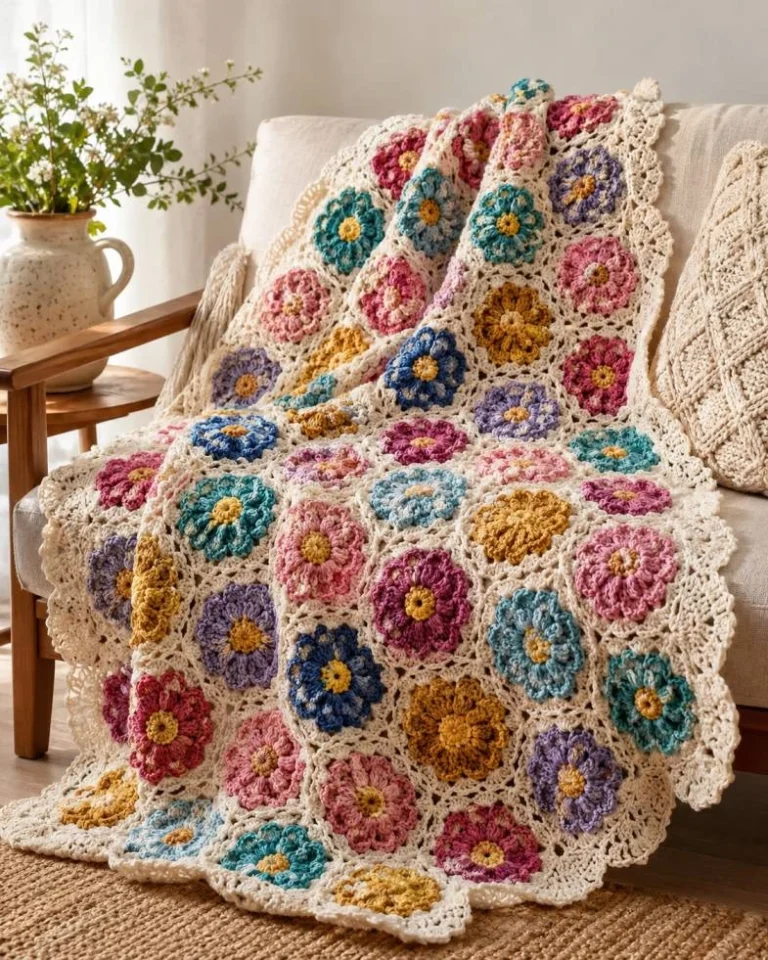
Granny squares continue to be a popular way to make wearable crochet. To bring this into your top, make a handful of squares in a coordinating palette and join them into a front and back panel, or use them as a simple panel across the chest.
Open-Work and Mesh Stitches
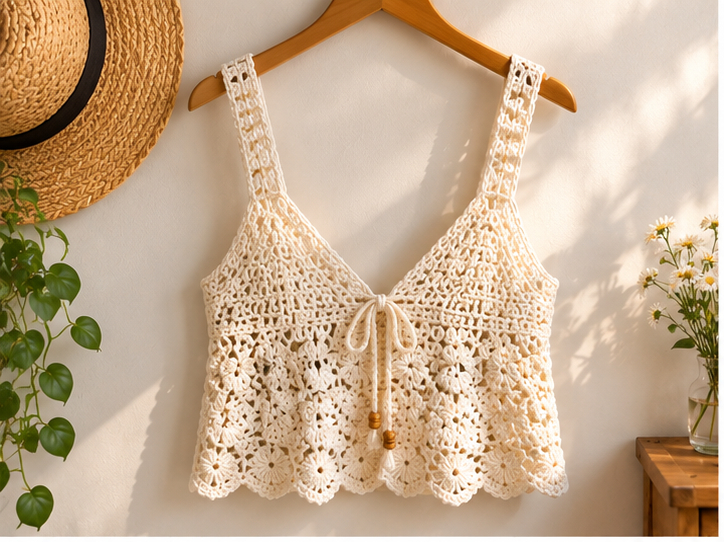
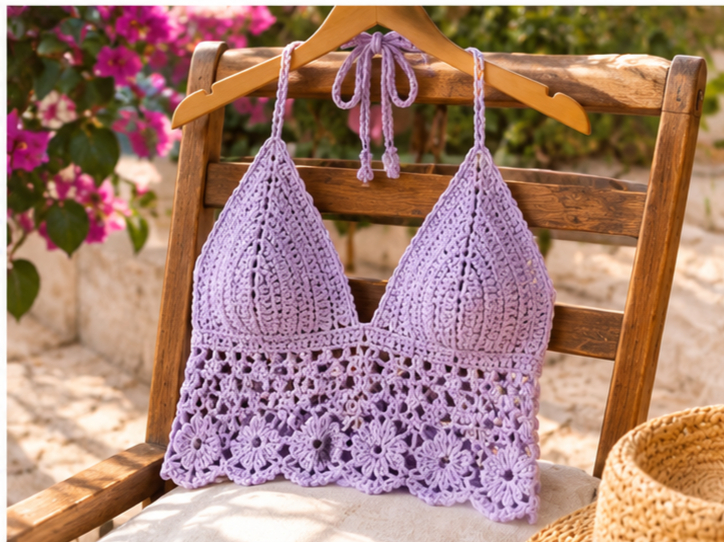
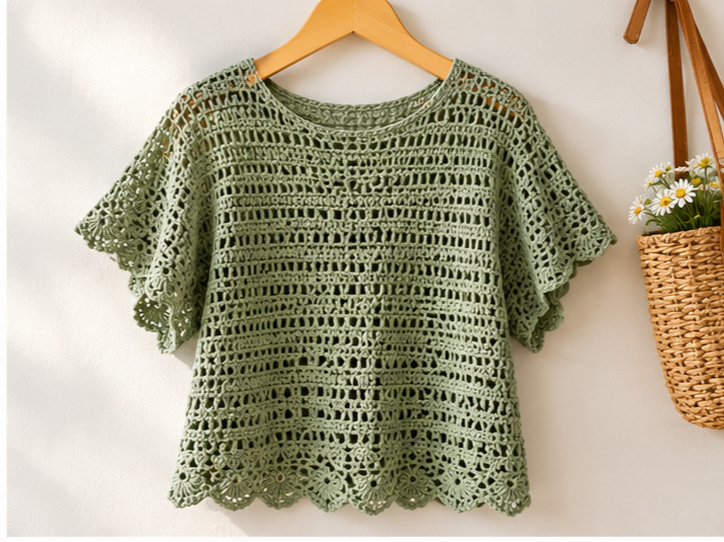
Airy mesh and lace stitches are a favorite for warm-weather crochet. You can work your panels in a mesh stitch for a breezy summer top, or use lacy stitches only along the hem or straps for a lighter touch.
Natural and Plant-Based Yarns
Many makers are choosing cotton, linen blends, and other natural fibers for clothing. Choosing one of these yarns for your top gives it a crisp, breathable feel that works especially well in warmer months.
Color Blocking and Stripes
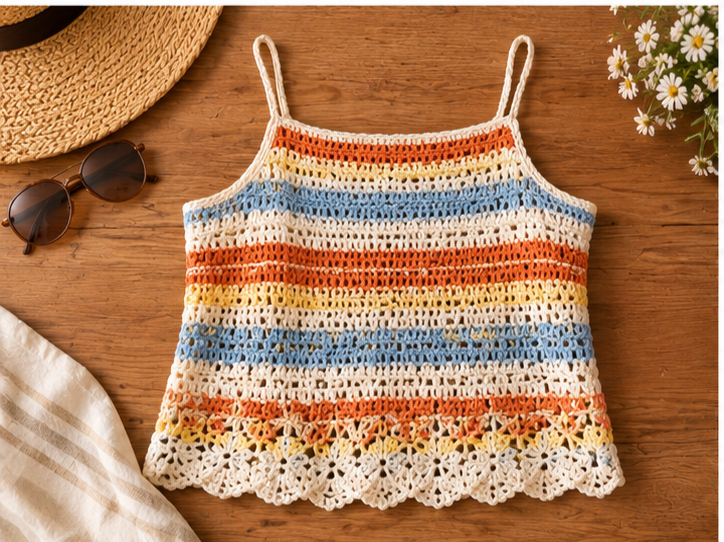
Bold stripes and blocks of contrasting color are a fun, easy way to update a basic shape. Work alternating bands as you crochet the panels, or add a contrasting border for a graphic look without changing the pattern.
Styling / Ideas
- Layer it over a fitted tank or slip for extra coverage, or wear it over a swimsuit as a beach cover-up.
- Pair it with high-waisted jeans, linen pants, or a flowy skirt for an easy everyday outfit.
- Add a fringe hem or tassels for a relaxed, boho feel.
- Customize the neckline with a square, scoop, or V-shape depending on your taste.
- Make it as a gift by choosing a favorite color and confirming measurements ahead of time, or by including a gift note with care instructions.
- Use leftover yarn to create matching accessories like a headband or small bag.
FAQs
Is a crochet top pattern good for beginners?
Yes, as long as you choose a simple design. Tops made from rectangles or squares with basic stitches like single and double crochet are a good place to start, since shaping is minimal.
What yarn is best for a crochet top?
Smooth, drapey yarns such as cotton or cotton blends are a common choice because they’re breathable and hold their shape. Avoid very fuzzy or stiff yarns until you’re comfortable with the pattern.
How do I make a crochet top fit properly?
Take accurate measurements, crochet a gauge swatch, and try the piece on as you work. Adjust the length, armholes, and neckline before seaming.
How do I wash a crochet top?
Follow the care label on your yarn. Hand washing in cool water and laying the top flat to dry is the safest approach for most handmade garments.
Conclusion
A well-chosen crochet top pattern lets you build a wearable piece you’ll actually reach for, without the time commitment of a large garment. Start with a swatch, take your measurements, and pick a yarn that drapes well, and you’ll be on your way to a top that fits and feels like your own. Once you’ve made one, it’s easy to tweak the stitch, color, or neckline and make another.