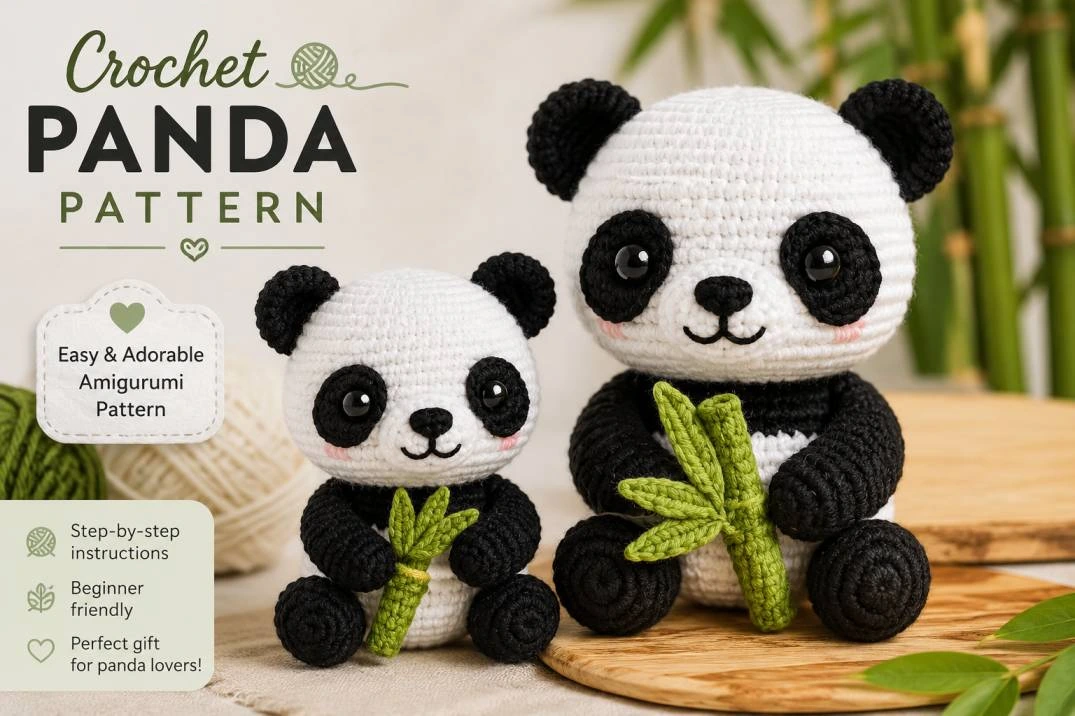
Crochet Panda Pattern Guide: How to Make Your Own Amigurumi Panda
There’s something about a panda that makes people stop scrolling. Maybe it’s the round belly, the black-and-white patches, or the fact that pandas already look built for amigurumi. Whatever the reason, a crochet panda pattern is one of those projects that shows up on every crocheter’s someday-list, and for good reason: it teaches color changes, shaping, and simple embroidery all in one small, huggable package.
This guide walks through exactly how a panda amigurumi comes together, piece by piece, so you understand the construction well enough to follow any pattern you choose, adapt one you already have, or design your own. It’s best suited for confident beginners and up. If you’ve made at least one amigurumi before, even a simple ball shape, you already have the skills you need.
Quick Project Overview
- Difficulty: Beginner-friendly to intermediate
- Finished size: Typically 6–10 inches tall
- Estimated time: 4–10 hours, spread across a few sessions
- Yarn weight: Worsted weight (US #4)
- Hook size: 3.0–3.5mm, sized down slightly to keep stitches tight
- Techniques: Magic ring, single crochet, increases/decreases, color changes, basic embroidery
- Construction: Continuous spiral rounds, pieces sewn together at the end
These are general guidelines, not measurements from one specific pattern, since results vary by pattern, yarn, and gauge.
Materials and Tools
- Yarn: Worsted weight acrylic or cotton-acrylic blend in white and black
- Hook: 3.0–4.0mm, matched to your yarn
- Polyester fiberfill for stuffing
- Safety eyes (9–12mm) or black embroidery thread
- Yarn needle, scissors, stitch marker
- Optional: pink thread for cheek blush
Cotton yarn is worth the extra cost for the face and eye patches, since it holds a cleaner edge through color changes. Acrylic works fine for the body.
Abbreviations
MR – magic ring · ch – chain · sc – single crochet · inc – increase · dec – decrease · sl st – slip stitch · BLO – back loop only · st(s) – stitch(es)
Does Gauge Matter?
Exact gauge isn’t critical for amigurumi, since a slightly bigger or smaller panda is still a good panda. Tension matters more: crochet tighter than you would for a blanket. Loose stitches let stuffing peek through, the most common complaint from first-time amigurumi makers. If your fabric looks gappy, drop down a hook size.
How a Crochet Panda Comes Together
This is a construction framework rather than a line-by-line pattern with invented stitch counts, since exact numbers vary by designer and intended size. Use it to follow or adapt any real pattern with confidence.
Head and Body
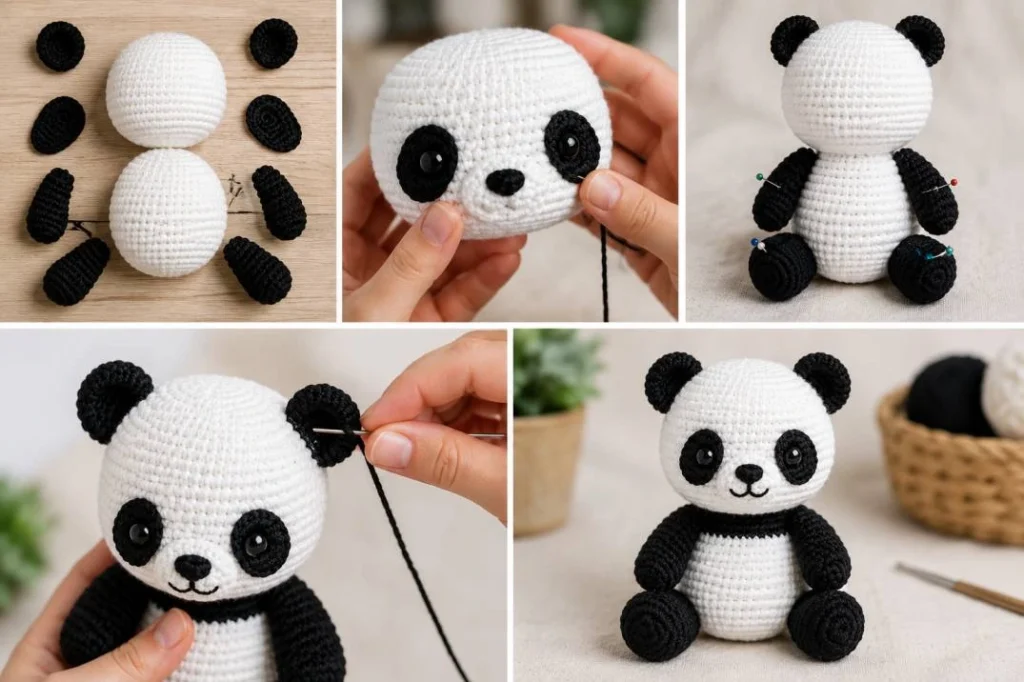
Both pieces start with a magic ring of 6 sc, then increase every round until reaching the widest point (roughly 30–36 stitches for a medium panda). Work several even rounds to build depth, then decrease back down toward the neck opening. Eye patches are typically crocheted flat in black and sewn onto the white head, and a black “saddle” shape is often added across the body’s back and shoulders.
Arms, Legs, and Ears
Arms and legs are each worked as small tubes from a magic ring, black from the paw up with an optional white cuff. Legs are usually a bit wider than arms to support the seated toy. Ears are simple black circles, just 2–3 rounds of increases, left lightly stuffed so they hold a rounded, cupped shape.
Face and Assembly
Place safety eyes (or embroider them for baby-safe toys) before finishing the stuffing, so you can check spacing and symmetry while you can still adjust. Add a small black oval nose and a short curved mouth stitch below it.
- Weave in ends on each piece before assembly.
- Stuff the head and body firmly, leaving the last round unstuffed to ease sewing.
- Sew the head to the body, matching front seams.
- Pin and sew the ears level with each other near the top of the head.
- Attach eye patches, eyes, nose, and mouth.
- Attach the arms to the upper sides, positioned at a slight forward angle.
- Sew legs to the lower body, spaced so the panda sits upright.
Stuffing, Color Changes, and Troubleshooting
Stuff in small pinches rather than large clumps to avoid lumps, and close openings with an invisible fasten-off rather than a simple slip stitch. For clean color changes, switch colors on the last yarn-over of the final stitch, keep tension even at the switch point, and weave in tails as you go rather than saving them for later.
Common issues: stuffing showing through means your tension is too loose (size down your hook); an off stitch count usually means you need to count every few rounds instead of only at the end; visible seams improve with a mattress stitch through back loops only and yarn matched to each piece’s color.
Customization and Care
Swap the palette for a “red panda” look in rust and cream, make a mini keychain version with thinner yarn, or add a small crocheted bamboo prop. Changing yarn weight or hook size changes your stitch counts throughout, so plan on adjusting rounds rather than reusing the original numbers exactly.
Hand wash in cool water, squeeze gently rather than wring, reshape while damp, and air dry flat. Store out of direct sunlight to keep the black and white from fading unevenly.
Safety Note
Safety eyes and other small attached pieces can be a choking hazard for babies and young children. For a toy meant for a child under three, embroider the eyes, nose, and other details instead of using plastic attachments.
Why Panda Amigurumi Are Having a Moment
Crochet has seen a real resurgence, and younger crafters are a big part of it. Social media has turned amigurumi into something closer to a visual art form, with time-lapse videos and finished-toy photos spreading quickly on the platforms younger audiences use most. It’s also genuinely accessible: a small amigurumi animal can be finished in a handful of sittings, which fits how people consume hobbies in short, shareable bursts today.
Celebrities have long been part of the fiber-arts conversation too, and Julia Roberts is well known as a longtime knitter who’s been photographed with projects on film sets for years, more associated with knitting than crochet specifically. Recognizable names openly enjoying fiber crafts has helped chip away at the old “just a grandma hobby” stereotype, and instantly recognizable projects like a panda tend to be exactly what gets shared as that trend keeps building.
Frequently Asked Questions:
Where can I find a free crochet panda pattern?
Free panda amigurumi patterns are widely available on crochet blogs, Ravelry, and yarn brand websites, with quality varying a lot between them. Look for clear photos of each construction stage and a comments section where other makers have flagged corrections.
What yarn is best for a crochet panda?
Worsted weight (US #4) yarn is the most beginner-friendly choice and gives a nicely proportioned 6–10 inch finished size. Cotton or cotton-acrylic blends hold stitch definition best around color changes, while all-acrylic yarn is a softer, more budget-friendly option for the body.
How long does it take to crochet a panda?
Most crocheters spend somewhere between 4 and 10 hours total, spread across several sessions. Total time depends heavily on experience level, yarn weight, and how much facial and paw detail the pattern includes.
Is a crochet panda pattern beginner-friendly?
Yes, for the most part. A panda uses fairly basic amigurumi techniques: magic rings, single crochet increases and decreases, and simple color changes. The main skill it demands beyond a first project is managing clean color transitions for the eye patches and ears.
Final Thoughts
A crochet panda pattern rewards you almost immediately: even a slightly wonky first attempt is still recognizably, charmingly a panda. Work through the pieces one at a time, keep your tension a little tighter than usual, and don’t rush the face placement, since that’s what brings the whole toy to life. Grab your hook and give it a try; your panda is closer to finished than you think.