Crochet Pumpkin Pattern: A Cozy Fall Project for Yarn Lovers
There’s something about the first hint of cooler weather that makes crocheters reach for orange, rust, and mustard yarn. A crochet pumpkin is one of those small projects that delivers a big payoff — it works up fast, uses very little yarn, and instantly says “autumn” the moment you set it on a shelf. Whether you’re stitching a single accent piece or a whole harvest of them for a fall display, this project is one of the most satisfying ways to bring seasonal charm into your home.
In this guide, you’ll find everything you need to understand how a crochet pumpkin comes together, what materials work well, and how to shape, finish, and style your pumpkin once it’s done.
What Makes This Crochet Project Special
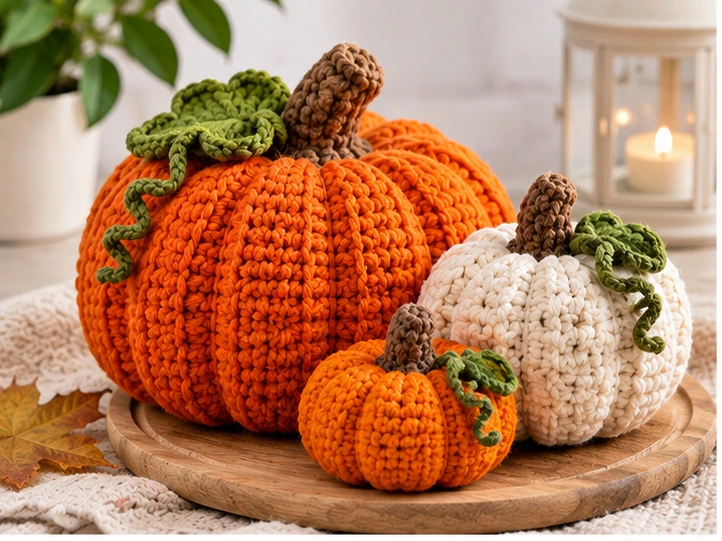
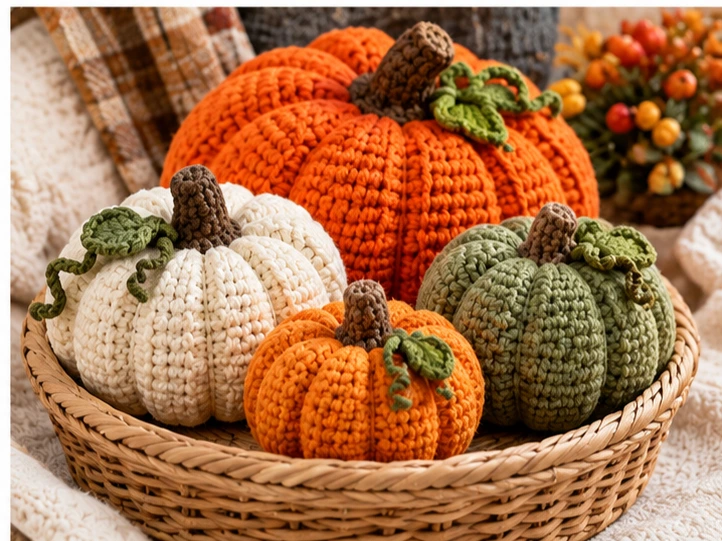
A crochet pumpkin gets its charm from simplicity. The rounded, ribbed body and the little curled stem are instantly recognizable, and the shape lends itself to endless variation. You can make it plump and squat, tall and narrow, tiny enough for a keychain, or oversized for a statement centerpiece.
Part of the appeal is how forgiving the project is. Because pumpkins are naturally a little irregular in real life, small variations in your stitching won’t look like mistakes — they just add character. That makes this a great pick for newer crocheters who want a satisfying finished object without the pressure of perfect symmetry, while more experienced makers can enjoy playing with proportions, color combinations, and embellishments.
It’s also a wonderfully economical project. A pumpkin typically uses leftover yarn from your stash, so it’s an easy way to use up scraps in warm, autumnal tones.
Materials You May Need
Because pumpkin patterns vary widely by size and style, treat this as a general materials checklist rather than an exact spec sheet:
- Worsted weight or chunky yarn in pumpkin shades (orange, burnt orange, cream, mustard, or even non-traditional colors like sage or blush for a modern look)
- A crochet hook sized to match your chosen yarn weight (check the yarn label for a suggested hook size)
- Polyester fiberfill for stuffing
- A small amount of brown or green yarn for the stem
- A yarn needle for sewing and weaving in ends
- Scissors
- Stitch marker to track the start of your rounds
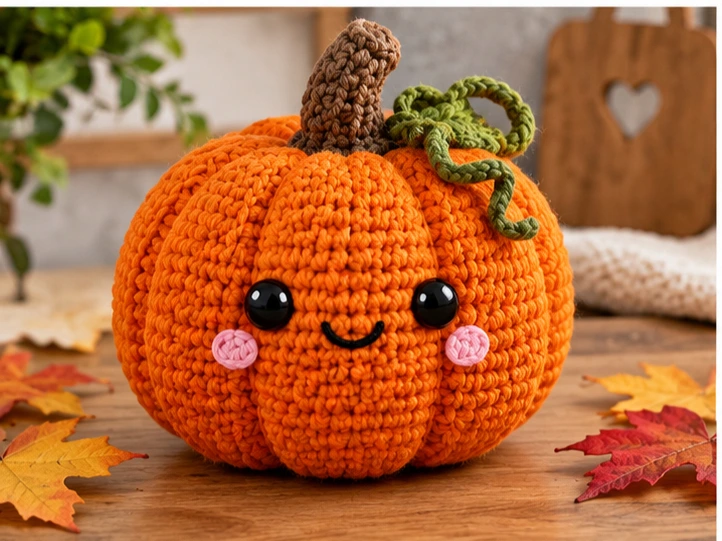
- Optional: felt or embroidery thread for a face, fall leaves for the stem, or a length of twine for hanging
If you’re working from a specific pattern, always defer to that pattern’s exact yarn and hook recommendations, since gauge and finished size will vary.
How to Make It
Getting Started With the Body
Most crochet pumpkins begin with a magic ring, worked in continuous rounds of single crochet to form a flat circle. From there, you’ll increase steadily for the first several rounds to create a wide, rounded base — this is what gives the pumpkin its classic squashed shape rather than a perfect ball.
Shaping the Middle
Once the base reaches your desired width, you’ll crochet several rounds even (without increasing or decreasing) to build up the height of the pumpkin’s body. This is the stage where you can decide how tall or squat you want the finished piece to be — fewer even rounds gives a flatter pumpkin, more rounds gives a taller one.
Creating the Ribbed Look
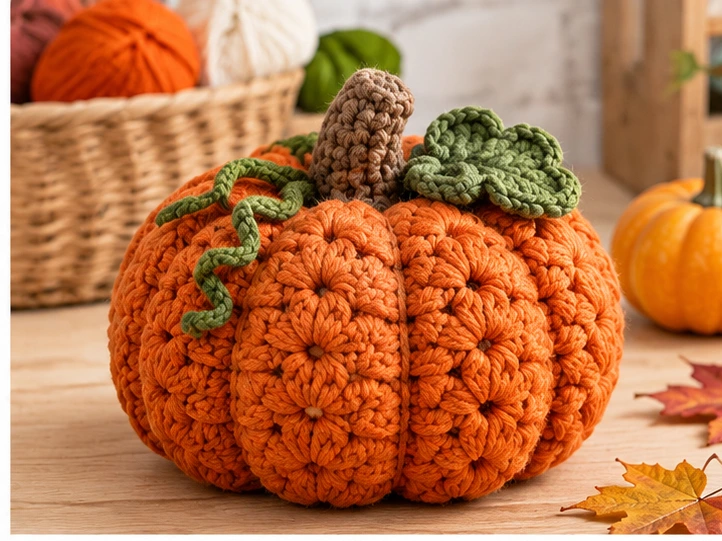
Many crochet pumpkins get their signature ribbed texture from working in back loops only (BLO) for one or more rounds, or by adding vertical seams with a contrasting strand of yarn once the piece is stuffed. Both methods create the visual grooves that make the pumpkin instantly recognizable.
Closing and Stuffing
After the body rounds are complete, you’ll begin decreasing steadily to close the top, leaving a small opening. Stuff the pumpkin firmly but not overly tight — you want it plump and rounded, not lumpy or misshapen. Continue decreasing and stuffing as you go until the opening is small enough to close.
Making the Stem
The stem is usually a short tube or spiral crocheted separately in brown or green yarn, then lightly stuffed and sewn to the top center of the pumpkin. A slight curve or twist to the stem adds a nice handmade, whimsical touch.
Tips for a Better Result
- Choose yarn thoughtfully. A slightly textured or heathered yarn can mimic the natural, uneven look of a real pumpkin better than a flat, solid color.
- Keep your tension even. Since pumpkins rely on their round shape, inconsistent tension can cause visible dips or bulges. If you tend to crochet loosely, consider sizing down a hook.
- Stuff evenly and in small amounts. Add fiberfill a little at a time and push it toward the edges to avoid lumps and keep the shape smooth.
- Use a contrasting seam for definition. Even a single strand of embroidery thread pulled from top to bottom in a few evenly spaced lines can dramatically enhance the ribbed pumpkin look.
- Weight the base if needed. For pumpkins meant to sit upright and stay put, a small amount of poly pellets mixed with the fiberfill at the bottom can help with stability.
- Block gently if your yarn allows it. Lightly steaming or blocking can help even out any uneven stitches once the pumpkin is stuffed.
Top 4 Crochet Trends
1. Textured, Earthy Color Palettes
Rather than bright, uniform orange, many crocheters are leaning into muted, earthy tones — terracotta, warm caramel, sage green, and dusty cream. For your pumpkin, consider working the body in a heathered or tonal yarn to give it a more organic, less “craft store” appearance.
2. Mini and Micro Amigurumi
Small-scale crochet projects continue to be popular for garlands, ornaments, and gift toppers. A miniature version of your pumpkin — worked in fingering or sport weight yarn — can be used as a bowl filler, a keychain, or strung together for a fall garland.
3. Chunky, Fast-Finish Makes
Bulky and super bulky yarns paired with larger hooks let makers finish a project in one sitting. A chunky yarn pumpkin makes a bold, cozy centerpiece and is a great option if you want a quick, satisfying finish without sacrificing charm.
4. Mixed-Material Embellishments
Combining crochet with natural or textile accents — like a real or felt leaf tucked near the stem, a strand of jute twine, or a wooden bead — is a popular way to add dimension. Try tying a small raffia or twine bow around the base of your pumpkin’s stem for an on-trend, rustic finish.
Styling and Gift Ideas
A finished crochet pumpkin is versatile well beyond the crochet basket. Group a few in graduating sizes down the center of a dining table for a simple centerpiece, or tuck one into a wreath for texture. They make thoughtful, low-cost handmade gifts for teacher appreciation, hostess gifts, or fall craft fairs. Smaller versions can be clipped onto a bag as a seasonal accessory, and a batch strung on twine makes a sweet garland for a mantel or window.
FAQs
Is a crochet pumpkin a good beginner project? Yes. The pattern typically relies on basic single crochet stitches, increases, and decreases, making it approachable even for newer crocheters, while the naturally imperfect shape of a pumpkin is forgiving of small tension inconsistencies.
What yarn works best for a crochet pumpkin? Worsted weight acrylic or cotton yarn is a common, beginner-friendly choice, but chunky yarn works well if you want a faster finish and a bolder, cozier look. The best choice depends on the finished size and texture you’re going for.
How much yarn do I need to make a pumpkin? This depends heavily on the finished size and yarn weight. A small to medium pumpkin often only requires a partial skein, making it an excellent stash-buster project, while a large pumpkin will use noticeably more.
Can I make a crochet pumpkin without a pattern? With some crochet experience, yes — you can freehand the shape by increasing to your desired base width, working even rounds for the body, then decreasing to close, and adding a simple stem. Following a written pattern is recommended if you want consistent stitch counts and a predictable finished size.
Final Thoughts
A crochet pumpkin is proof that a small, simple project can still feel like a meaningful seasonal tradition. With just a bit of yarn, a hook, and some basic stitches, you can create a piece that adds warmth and charm to your home all autumn long — and once you’ve made one, it’s hard to stop at just one pumpkin.