How to Make a Crochet Christmas Gnome: A Cozy Holiday Project for Any Skill Level
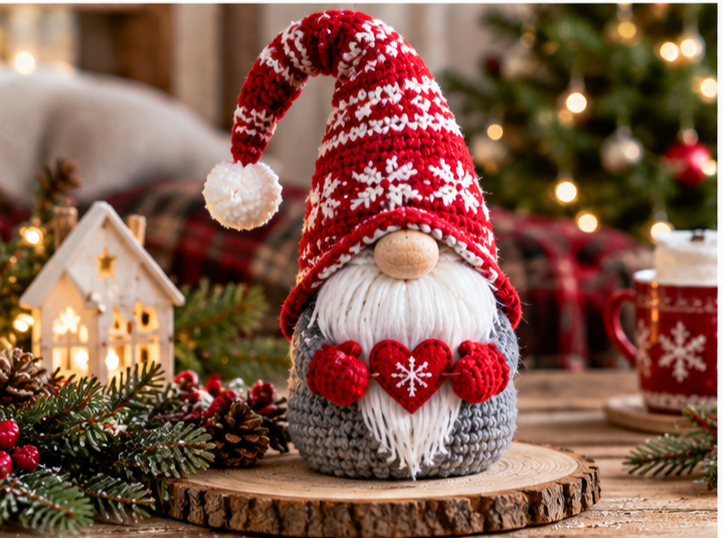
There’s something about a crochet Christmas gnome that instantly makes a space feel warmer. With its pointed hat, fuzzy beard, and stubby little body, this project has become one of the most beloved holiday makes in the crochet community — and for good reason. It’s quick enough to finish in a weekend, forgiving enough for beginners, and charming enough to sit proudly on a mantel, shelf, or gift table.
Whether you’re crocheting one gnome as a stocking stuffer or a whole family of them for your tree, this guide walks you through the design, the materials, and the steps involved in bringing your own crochet Christmas gnome to life.
What Makes This Crochet Project Special
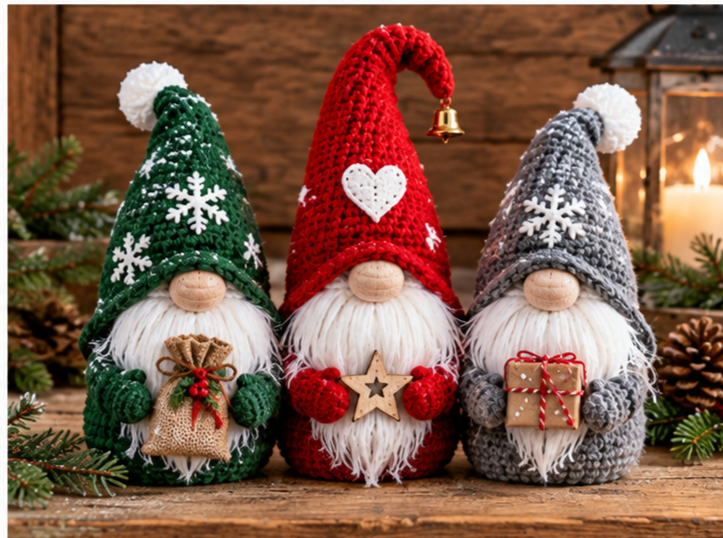
Part of the appeal of a crochet Christmas gnome comes from its simple, almost sculptural shape. Most designs rely on a tall, pointed hat, a round or slightly tapered body, and a face that’s mostly hidden behind a generous beard — which means there’s very little detailed shaping or fussy finishing work involved. You get a big visual payoff without needing advanced techniques.
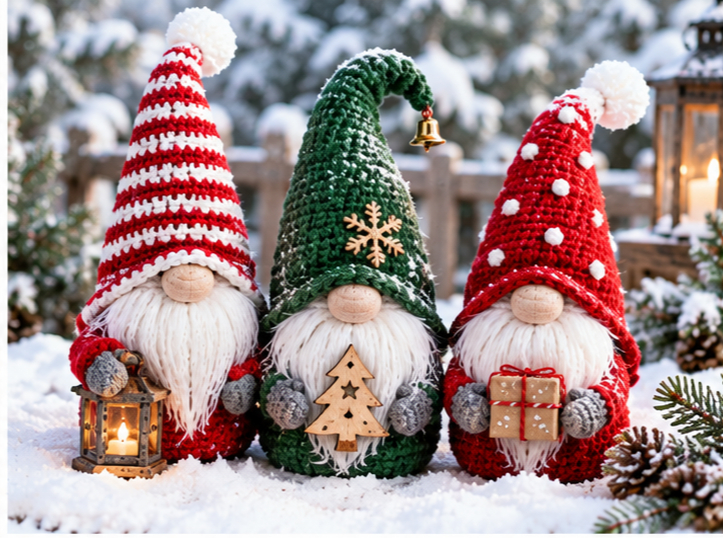
Gnomes also lend themselves beautifully to color play. A classic red-and-white palette feels instantly festive, but plaid-inspired stripes, forest green, buffalo check patterns, or even metallic gold accents can give your gnome a more personalized, boutique-style look. Because the shape is so simple, the yarn choice and color combination often do most of the visual work.
Another reason this project has stayed popular is its versatility. A crochet Christmas gnome can be scaled down into a tiny ornament, kept at a medium “shelf sitter” size, or made oversized as a statement piece for a porch or entryway. The same basic construction principles apply no matter which size you choose.
Materials You May Need
Exact quantities and gauge will vary depending on the size of gnome you’re making and the yarn weight you choose, but most crochet Christmas gnome patterns call for a similar core set of supplies:
- Worsted weight yarn in your main colors (commonly red or patterned yarn for the hat, a neutral or cream shade for the body, and white or cream for the beard)
- A crochet hook sized appropriately for your yarn weight (often somewhere in the range typically used for amigurumi — check your yarn label or pattern for the recommended size)
- Polyester fiberfill stuffing
- A yarn needle for weaving in ends and sewing pieces together
- Stitch markers to track the start of your rounds
- Scissors
- Optional: a small pom-pom or bell for the hat tip, a wooden or fabric nose, and any embellishments like faux fur trim, buttons, or ribbon
If you’re using a specific written pattern, always follow the yarn weight and hook size it recommends, since gauge affects the finished size of your gnome.
How to Make It
Start With the Body
Most crochet Christmas gnome bodies are worked in continuous rounds starting from a magic ring, increasing gradually to form a rounded base, then working even rounds to build height. Depending on the design, the body may taper slightly at the top before you begin the head or hat section. Stuff firmly but evenly as you go so the gnome can stand upright without looking lumpy.
Shape the Hat
The hat is typically worked as a cone shape, either as a continuation of the body or as a separate piece sewn on afterward. Rounds start wide and decrease steadily to create the classic pointed tip. Many crocheters like to add a slight curve or flop to the hat by leaving the last few rounds unstuffed or lightly wired for movement.
Add the Beard
The beard is one of the most distinctive features of a crochet Christmas gnome. It can be created a few different ways:
- Crocheting loop stitches or fur stitches directly onto the face area
- Attaching pre-made faux fur or yarn fringe
- Crocheting a separate beard piece and sewing it in place
Whichever method you choose, the beard should cover most of the lower face, since traditional gnome designs rarely show a full face or eyes.
Attach the Nose
A small nose is usually added just above the beard line, either crocheted separately and stuffed lightly, or made from a wooden bead or felt piece. This tiny detail adds a surprising amount of personality.
Finish and Assemble
Once your pieces are complete, weave in all loose ends, attach the hat securely to the body if it was made separately, and add any final embellishments like a pom-pom, bell, or trim. Let the gnome sit upright to make sure it’s stable before calling it finished.
Tips for a Better Result
- Choose yarn with good stitch definition. A slightly textured or matte worsted weight yarn tends to show stitches more clearly than very fuzzy or slippery yarns, which makes shaping easier to control.
- Keep your tension consistent. Amigurumi-style projects like this rely on tight, even stitches so stuffing doesn’t peek through. If your tension feels loose, try going down a hook size.
- Stuff in layers. Add small amounts of fiberfill as you crochet rather than stuffing everything at the end — this helps avoid lumps and keeps the shape smooth.
- Weight the base if needed. For gnomes meant to stand on a shelf, adding a bit of poly pellets or rice in a sealed pouch at the bottom can help them stay upright.
- Block sparingly. Amigurumi pieces don’t usually need heavy blocking, but lightly steaming a hat that curls awkwardly can help it sit the way you want.
Top 4 Crochet Trends
1. Textured Stitch Play
Crocheters are increasingly moving beyond flat single crochet surfaces toward textured stitches like bobbles, popcorn stitches, and loop stitch. For a crochet Christmas gnome, this shows up most naturally in the beard — a looped or bobble-stitch beard adds dimension and a handmade, tactile quality that a smooth beard doesn’t have.
2. Muted and Natural Color Palettes
While bright red-and-white gnomes remain a classic, there’s a clear shift toward softer, more neutral holiday palettes — sage green, oatmeal, rust, and dusty red. You can lean into this trend by swapping traditional bright colors for a more muted combination, giving your gnome a cozier, farmhouse-inspired look.
3. Mini and Miniature Amigurumi
Small-scale amigurumi, including tiny ornament-sized figures, has grown steadily in popularity because these pieces are quick to make and easy to gift in multiples. A miniature version of a crochet Christmas gnome, sized to hang on the tree or tuck into a stocking, fits well within this trend.
4. Personalized and Themed Designs
Rather than sticking to one standard design, many crocheters are customizing gnomes with hobby-specific details, family names, or themed outfits — think a “baking gnome” with a tiny rolling pin, or a plaid-scarfed gnome for a woodland theme. Adding a small personalized accessory is an easy way to make your gnome one of a kind.
Styling and Gift Ideas
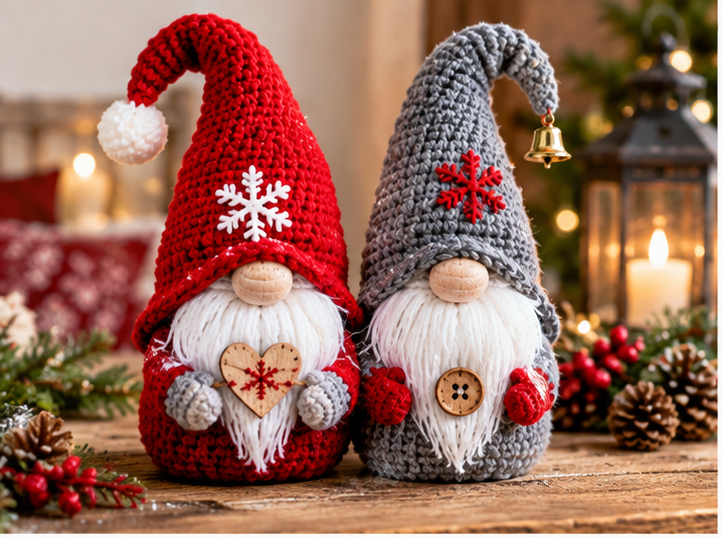
A finished crochet Christmas gnome works well in more places than just under the tree. Try lining up a few in graduating sizes along a mantel, tucking a small one into a wreath, or using one as a whimsical topper for a wrapped gift. They also make thoughtful handmade gifts for teachers, coworkers, or neighbors, especially when made in a size small enough to fit in a gift bag. For kids, consider adding a name tag or small bell so the gnome doubles as a keepsake ornament.
FAQs
Is a crochet Christmas gnome a good beginner project? Yes. Because the shape relies mostly on basic increases, decreases, and straight rounds, it’s a great project for someone comfortable with fundamental crochet stitches and simple amigurumi shaping.
What yarn works best for a crochet Christmas gnome? Worsted weight acrylic or cotton-blend yarn is commonly used because it holds its shape well and is widely available in holiday colors. Softer or fuzzier yarns can be nice for the beard but are harder to use for the structured body and hat.
How do I keep my gnome standing upright? Firm, even stuffing combined with a wider base helps most gnomes stand on their own. Adding a small weighted pouch at the bottom of the body can provide extra stability if needed.
Can I make the beard without special fur yarn? Absolutely. A beard can be crocheted using loop stitch, fringe made from cut yarn strands, or simple straight rows sewn on in layers — none of which require specialty fur yarn.
Conclusion
A crochet Christmas gnome is one of those projects that feels far more impressive than the effort it actually takes. With a simple cone-shaped hat, a rounded body, and a fluffy beard, you can create a piece of holiday decor that’s entirely your own — in colors, textures, and details that suit your style. Whether you’re making one gnome or a whole collection, this project is a satisfying way to bring a little handmade warmth into your holiday season.