Easy Crochet Sweater Pattern: A Beginner-Friendly Guide to Your First Pullover
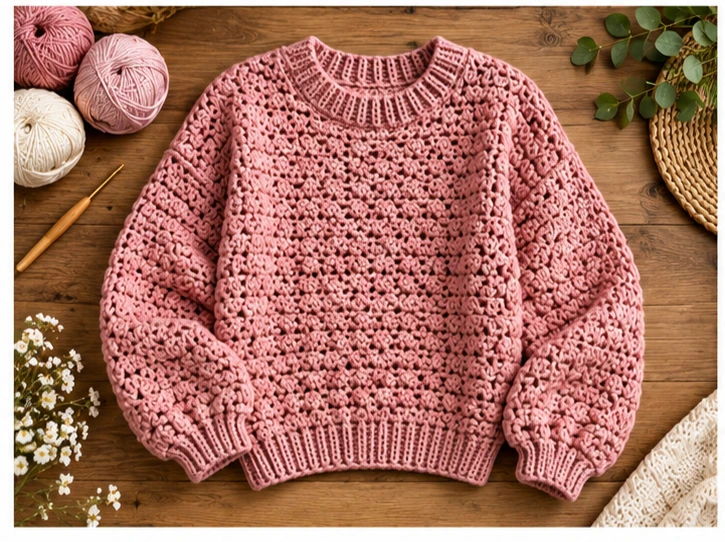
Making a wearable sweater sounds like a big commitment, but a good crochet sweater pattern breaks the job into simple pieces. Most beginner-friendly sweaters are just rectangles and a few seams, worked in stitches you likely already know. This guide walks you through the whole process, from choosing yarn to sewing up the sleeves, so you can start with confidence.
What Makes a Simple Crochet Sweater Special
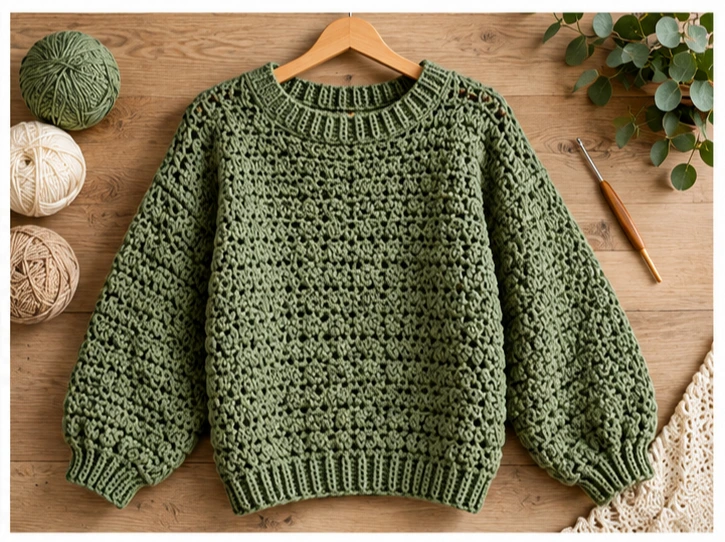
The appeal of a rectangle-based pullover is its flexibility. A boxy, drop-shoulder shape is forgiving on different body types, and you can change the length, sleeve width, or neckline without rewriting the pattern. There is no complicated shaping to track.
It also gives you a wardrobe piece you can’t buy off the rack. You choose the fiber, the color, and the texture, whether that’s a cozy neutral, a bold stripe, or a granny-square patchwork. For many crocheters, that first finished sweater is what turns the craft from a hobby into something they wear every day.
Materials You May Need
Exact needs depend on your size and the pattern you follow, but most sweaters call for:
- Yarn: Worsted or DK weight is a comfortable starting point. Look for soft, machine-washable options such as wool blends, cotton blends, or quality acrylic. Buy all your yarn at once and check that the dye lots match.
- Crochet hook: Use the size recommended on the yarn label as a starting point, then adjust after swatching. Some people go up a size for drape.
- Stitch markers: Handy for marking the neckline, shoulder seams, and sleeve placement.
- Yarn needle: For seaming and weaving in ends.
- Measuring tape and scissors.
- Blocking supplies: Pins and a towel or blocking mats, if your fiber benefits from blocking.
How to Make It
Start with a Gauge Swatch
Crochet a swatch at least 4–6 inches square in your chosen stitch, then measure how many stitches and rows fit into 4 inches. Compare this to your pattern. If you get more stitches than the pattern calls for, try a larger hook. If you get fewer, go smaller. Skipping this step is the most common reason sweaters end up too tight or too loose.
Choose Your Size and Stitch
Measure a sweater you already love and use those measurements as your target. For a boxy fit, add a few inches of ease to your bust measurement. Then pick your stitch. Half double crochet, moss stitch, and the waistcoat stitch are all popular choices, and each is covered in the tips below.
Crochet the Front and Back Panels
Chain enough stitches to reach your target width, then work in rows until the panel reaches your desired length. Make a second identical panel. If you prefer, you can make both panels the same and shape the neckline later by leaving a gap when you seam the shoulders.
Make the Sleeves
Sleeves can be crocheted as rectangles too. Start at the cuff and add gentle increases toward the upper arm for a more tapered fit, or keep them straight for a relaxed look. Aim for a sleeve width that matches the armhole depth of your body panels.
Seam and Assemble
Lay your pieces flat. Join the shoulder seams first, leaving the center open for the neckline. Attach the sleeves to the armholes, then sew the side and underarm seams in one continuous line. A mattress stitch or a slip stitch seam both work. Mattress stitch is less visible, while slip stitch is sturdier.
Add the Neckline and Hems
Work a few rounds of single crochet or a ribbed edging around the neckline to keep it from stretching. Repeat at the cuffs and bottom hem for a polished finish. Then weave in all your ends.
Tips for a Better Result
Pick a drapey yarn. Yarn that feels stiff in the skein will feel stiff on your body. Squeeze the ball and check that it’s soft and slightly flexible before buying.
Choose the right stitch for the look you want. Half double crochet works up quickly and gives a cozy, sturdy fabric. Moss stitch, which alternates single crochet and chain spaces, creates a pretty textured fabric with good drape. If you want something that looks like knitting, the waistcoat stitch (sometimes called the knit stitch) creates rows of tiny “V” shapes when worked into the center of each stitch.
Keep your tension steady. Try to hold your yarn the same way throughout. If your stitches tighten when you’re tired, take breaks.
Block when the fiber allows. Wool blends and cotton usually benefit from blocking, which evens out stitches and helps the seams lie flat. Acrylic may need only a light steam, if the label permits.
Try the sweater on as you go. Holding pieces against your body while working saves you from a costly surprise at the seaming stage.
Don’t worry about the “sweater curse.” This is a knitting and crochet superstition that gifting a sweater to a partner leads to a breakup. It’s a fun bit of craft folklore, and plenty of people happily crochet sweaters for loved ones.
Top 4 Crochet Trends
Granny Square Sweaters
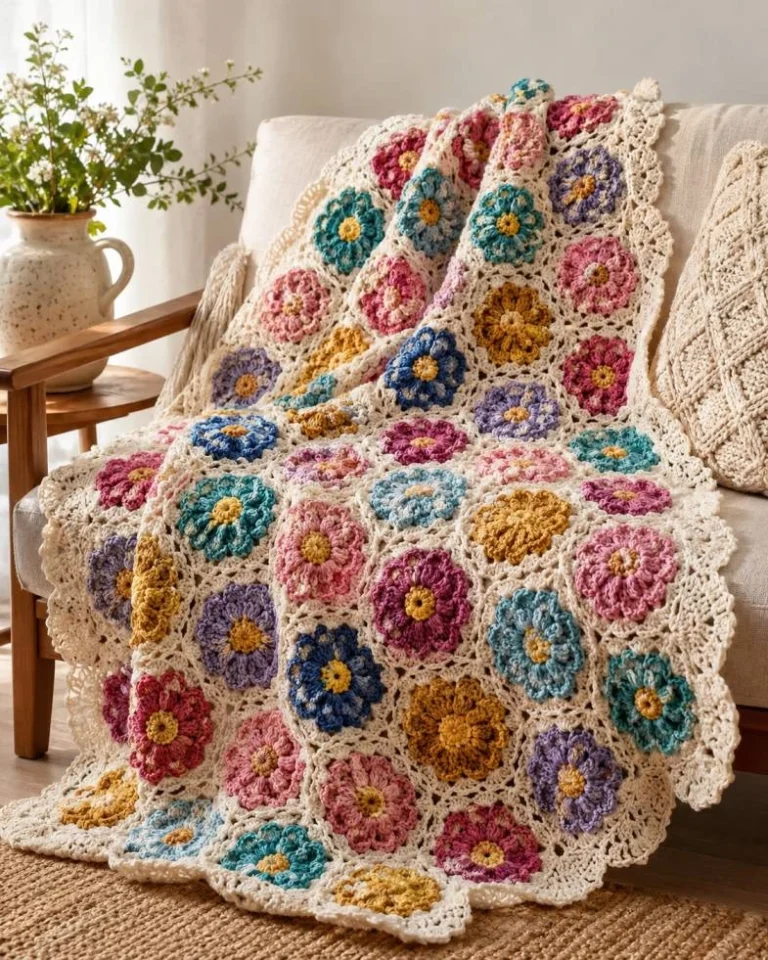
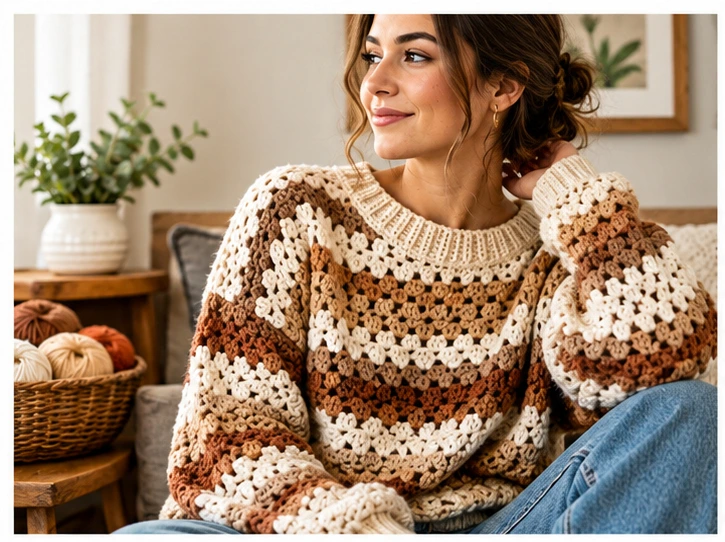
Patchwork-style granny squares remain a popular way to make wearable crochet. You can incorporate this trend by crocheting your front and back panels from joined squares instead of solid rectangles, which also makes the project easy to carry and work in small pieces.
Textured, Simple Stitches
Many crocheters are favoring understated textures over complicated lace. Try a moss stitch or ribbed panel to give your sweater visual interest without complex instructions.
Cozy Oversized Fits
Relaxed, boxy silhouettes are a favorite because they are comfortable and forgiving. A drop-shoulder rectangle design fits this style naturally. Simply widen the panels and lengthen the sleeves slightly.
Color Blocking and Stripes
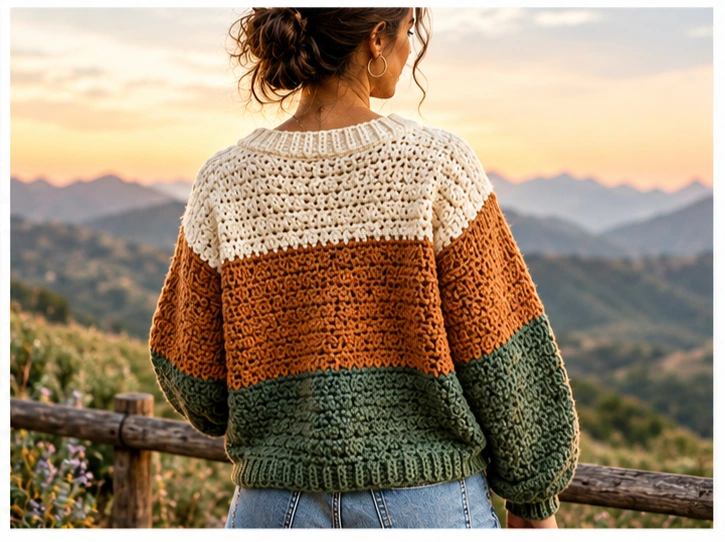
Bold stripes and blocks of contrasting color are a fun way to use leftover yarn. Add a stripe at the hem, cuffs, or across the chest for an instant personal touch.
Styling and Ideas
- Layer it over a collared shirt or a simple tee for an easy everyday outfit.
- Make it seasonal by using lightweight cotton for spring or a wool blend for winter.
- Add a pocket. A simple crocheted square stitched to the front is practical and cute.
- Gift it. Ask for a favorite sweater‘s measurements first so the fit is right.
- Make a matching set with a beanie or scarf using the same yarn and stitch.
FAQs
What is the easiest sweater to crochet?
A simple drop-shoulder pullover made from rectangles is generally the easiest. It needs no shaping, and the main skills involved are basic stitches, measuring, and seaming.
What is the best crochet stitch for a sweater?
Half double crochet and moss stitch are both popular because they balance speed, texture, and drape. Dense stitches like single crochet can feel stiff in a garment. The waistcoat stitch is worth a try if you want a fabric that resembles knitting.
Is it easier to crochet a sweater or knit one?
It depends on your skills. Crochet is often faster to start and easier for beginners to correct, since you only have one live loop. Knitting tends to produce a stretchier fabric with a more traditional garment look, but crocheted sweaters can be just as wearable when you choose the right yarn and stitch.
How long would it take a beginner to crochet a sweater?
It varies widely with yarn weight, stitch, size, and how many hours you crochet per week. A bulky-weight pullover may take a few weeks of regular work, while a lightweight yarn can take a couple of months. Working in panels lets you track your progress easily.
Conclusion
A well-chosen crochet sweater pattern makes a first garment far less intimidating than it looks. Swatch carefully, pick a soft yarn, and build your pullover one rectangle at a time. Before long you’ll have a handmade sweater you can wear, gift, or customize again and again.