How to Make a Crochet Flower Bandana: A Simple Guide for Dogs, Kids, or Yourself
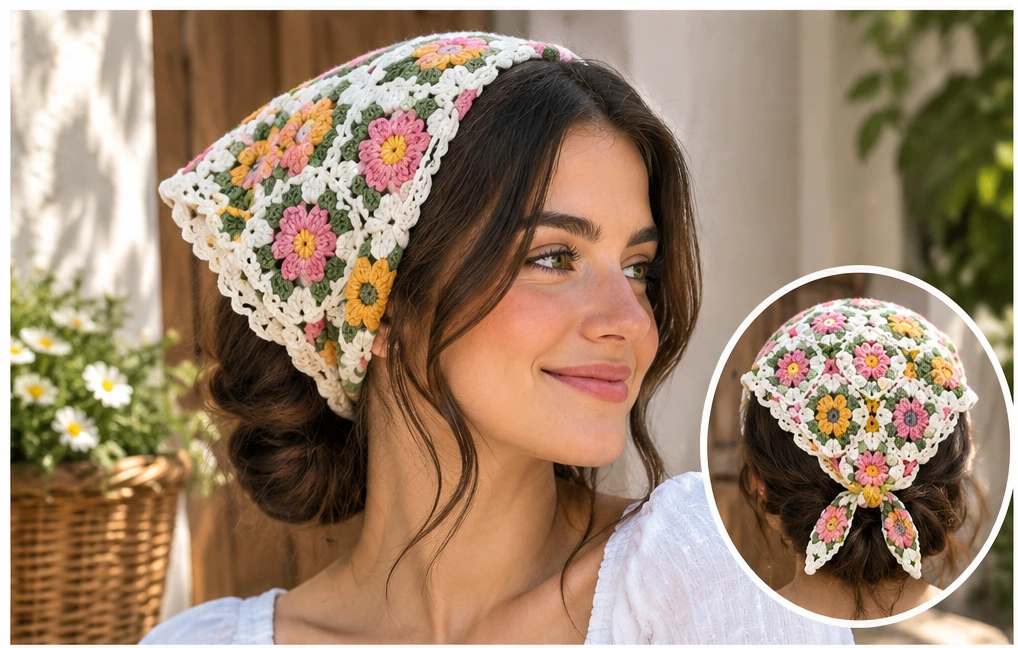
If you’ve been searching for a project that’s quick, cute, and endlessly customizable, a crochet flower bandana might be exactly what you need. It’s one of those small makes that punches way above its weight — a simple triangle or rectangle base topped with a cheerful crochet flower, ready to tie onto a dog’s collar, a child’s head, or even styled as a bohemian accessory for yourself. It comes together fast, uses very little yarn, and looks polished enough to gift.
Whether you’re new to amigurumi-style flowers or just want a low-commitment weekend project, this guide walks through everything you need to make your own.
What Makes This Crochet Project Special
The appeal of a crochet flower bandana comes from the contrast between the two pieces: a plain, textured base and a bright, dimensional flower appliqué sewn on top. The bandana itself is typically worked in simple stitches — single crochet or half double crochet rows — which keeps the fabric soft and flexible enough to tie comfortably. The flower is where the personality lives. A layered petal flower with a contrasting center button adds texture and color without requiring advanced skills.
Because the pieces are small, this project is a great way to practice color changes, basic shaping, and simple embellishment techniques without committing to a large blanket or garment. It’s also endlessly adaptable: swap the base shape, change the flower size, or use a different color palette, and you get a completely different look.
Materials You May Need
Exact yarn weight and hook size will depend on how large you want the finished bandana to be, but generally you’ll want:
- A medium-weight (worsted or DK) cotton or cotton-blend yarn — cotton holds its shape well and is easy to wash, which matters if this is for a pet or a child
- A crochet hook sized to match your yarn weight (check the yarn label as a starting point, then adjust based on your tension)
- A small amount of contrasting yarn for the flower center
- A yarn needle for weaving in ends and sewing the flower onto the bandana
- Scissors
- A stitch marker, especially helpful if you’re working the flower in the round
- Optional: a snap, button, or short length of elastic if you want the bandana to fasten rather than tie
Since this project uses small amounts of yarn, it’s a great way to use up scraps from your stash.
How to Make It
Step 1: Choose Your Bandana Shape
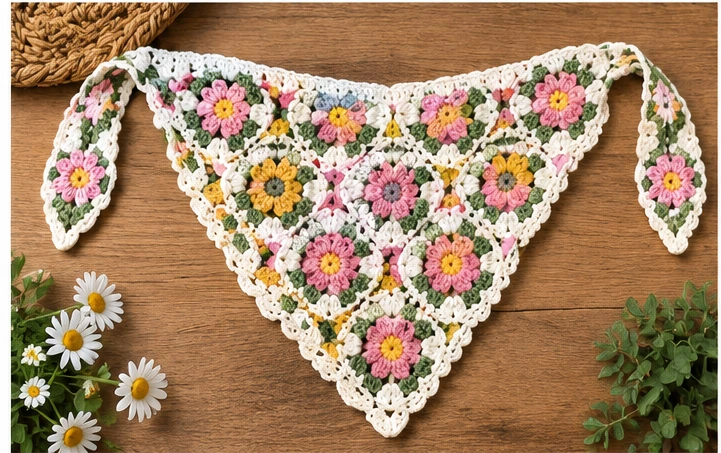
Most crochet flower bandanas start as either a triangle (the classic bandana look) or a simple rectangle that ties at the ends. A triangle is typically worked by starting with a small chain, then increasing at the edges every row until you reach your desired width, before working even rows to the point. A rectangle is even simpler — chain to your desired width, then work straight rows until it’s long enough to tie comfortably.
Step 2: Work the Base in Simple Stitches
Single crochet gives a dense, sturdy fabric that holds up well to regular wear, while half double crochet works up faster and has a bit more drape. Either works well for a bandana. Keep your tension even throughout so the fabric lies flat rather than curling.
Step 3: Add a Border (Optional but Recommended)
A simple single crochet or slip stitch border around the edges of the bandana gives it a cleaner, more finished look and helps prevent the edges from curling or stretching out of shape over time.
Step 4: Crochet the Flower
The flower is usually worked separately, starting with a magic ring or small chain circle for the center, then building petals outward. A common approach is working one round of petals directly onto the center, or crocheting a small flat circle and adding a simple petal edging. If you want more dimension, work two layers of petals in slightly different sizes and stack them before sewing.
Step 5: Add the Center Detail
A contrasting color button-style center, a French knot, or a small pom-pom all work well here. This is where a lot of the charm comes from, so don’t be afraid to experiment with color combinations.
Step 6: Assemble
Once both pieces are finished and all ends are woven in, position the flower where you want it on the bandana — most commonly centered or slightly off to one side — and sew it in place using a whip stitch or small running stitches around the edge of the flower’s base.
Tips for a Better Result
- Choose yarn thoughtfully. Cotton or cotton-blend yarns are a popular choice for bandanas because they’re breathable, washable, and hold their shape better than very soft acrylics, which is helpful if this will be worn or washed often.
- Keep your tension consistent, especially on the bandana base — uneven stitches are much more noticeable on a flat, single-color piece than they are in amigurumi.
- Play with color contrast. A neutral or muted bandana base with a bright, saturated flower tends to look more polished than an all-matching palette.
- Block the flower if it seems uneven. Pinning the petals down lightly with steam or a light misting of water can help them lie flatter and look more symmetrical before sewing.
- Sew, don’t glue. A sewn-on flower holds up much better through washing and regular use than a glued one.
Top 4 Crochet Trends
1. Cottagecore-Inspired Accessories
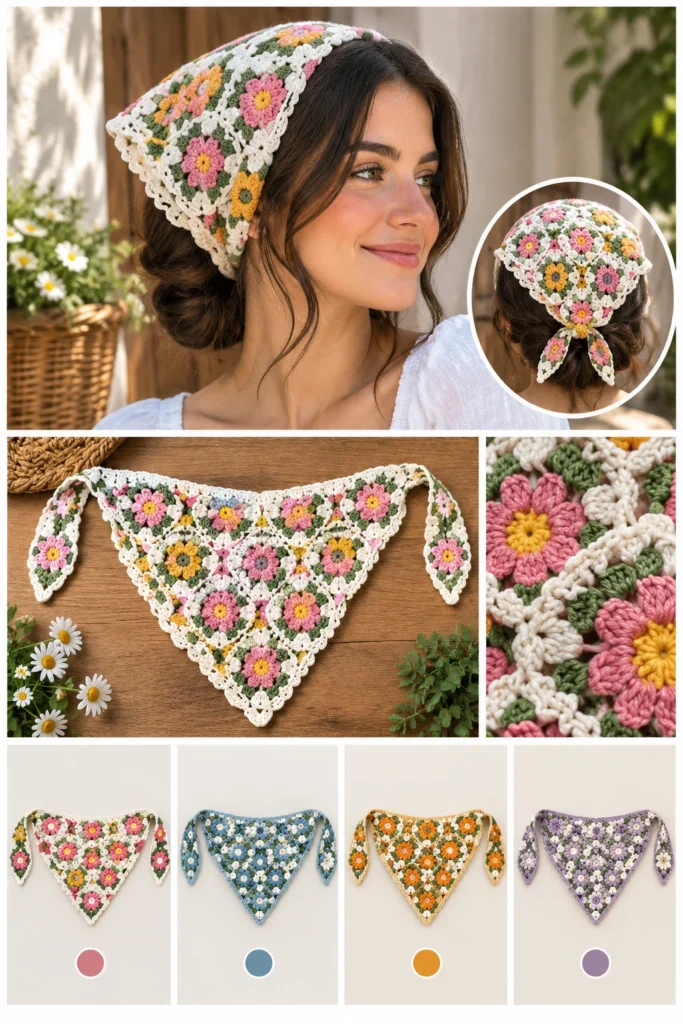
Soft color palettes, floral motifs, and handmade textures continue to be popular in crochet circles, often associated with a cozy, nature-inspired aesthetic. You can lean into this trend by choosing muted florals, sage greens, and warm creams for your bandana and flower.
2. Pet Accessories as a Crochet Category
Crocheted items made specifically for pets — collars, bandanas, and small accessories — have grown into their own niche within the crochet community. This project fits naturally into that space, and sizing it for a dog collar is a simple way to tap into that popularity.
3. Mix-and-Match Appliqués
Rather than committing one flower design to one base, many crocheters are making a small collection of interchangeable flower appliqués that can be swapped onto a plain bandana or headband depending on mood or season. Consider attaching your flower with a small snap or safety pin backing instead of sewing it permanently.
4. Bold Color Blocking
Instead of a single solid-color base, some makers are working the bandana in two or three color blocks or simple stripes, then adding the flower as a focal point. This is an easy way to make a simple pattern feel more current without adding stitch complexity.
Styling and Customization Ideas
- Make a small version for a dog collar or a larger one for a child’s head
- Crochet multiple flowers in different colors and let the wearer swap them out
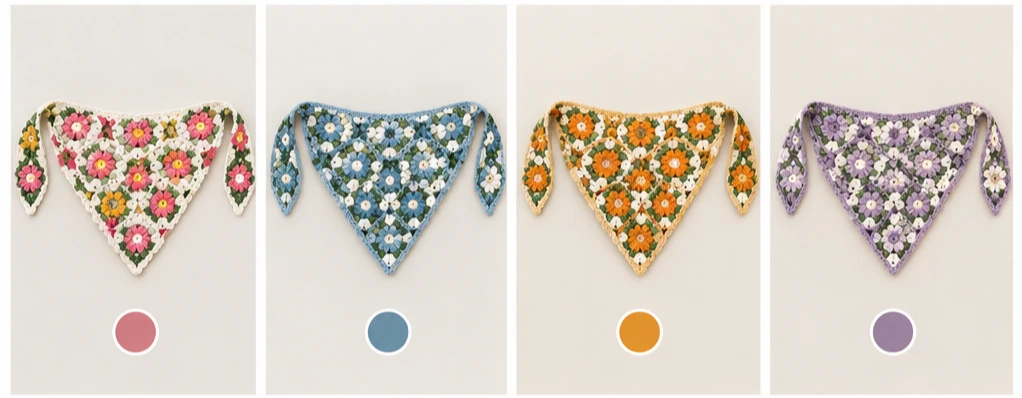
- Use seasonal colors — pastels for spring, deep tones for fall — to make it a rotating accessory
- Add a small leaf motif alongside the flower for extra dimension
- Turn it into a hair accessory by sewing the flower onto a plain crochet or fabric headband instead of a bandana
- Make a matching set — one bandana for a pet and a smaller flower pin for their owner
FAQs
Is a crochet flower bandana beginner-friendly?
Yes. The bandana base uses basic stitches like single or half double crochet, and the flower is typically made of simple rounds or petal repeats, making this a good project for confident beginners.
What yarn is best for a crochet bandana?
Cotton or cotton-blend yarns are a popular choice because they’re durable and washable, which matters especially if the bandana is for a pet or will see frequent use.
How many inches should a crochet bandana be?
This depends entirely on who or what it’s for. Measure the intended wearer — a dog’s neck, a child’s head circumference, or your own — and size the base accordingly rather than following a fixed number.
Can I make the flower without a specific pattern?
Yes. A simple flower can be improvised by working a small ring, then adding a round of petal stitches (like chain-3, single crochet clusters) around the outer edge.
How do I attach the flower securely?
Whip stitching around the base of the flower with a yarn needle, matching thread color to either the flower or the bandana, gives a secure and nearly invisible finish.
Can this pattern be adapted for a headband instead of a bandana?
Absolutely. The flower motif works well sewn onto a plain crochet headband or even a purchased fabric one if you want a faster option.
How do I keep the bandana edges from curling?
Adding a simple border round of single crochet or slip stitches around the finished edge helps stabilize the fabric and keeps it lying flat.
Final Thoughts
A crochet flower bandana is a small project with a lot of charm — quick enough for an afternoon, simple enough for a beginner, and flexible enough to fit almost any color palette or occasion. Once you’ve made one, it’s easy to see why they’re such a popular quick-make: a little bit of yarn, a little bit of shaping, and a finished piece that feels genuinely handmade.