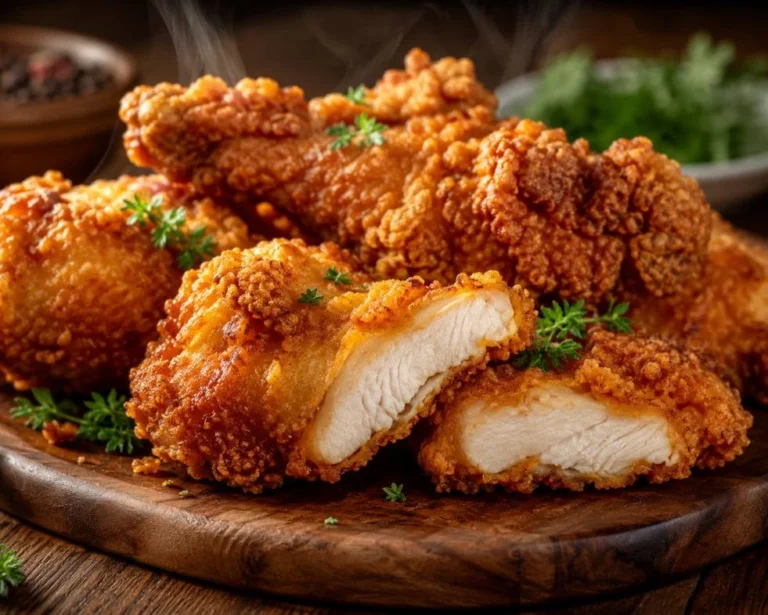
The Ultimate Beginner’s Guide to Crispy Chicken Wings (No Deep Fryer Required)
I’ve cooked more chicken wings than I can count over the years, and here’s the thing nobody tells beginners: the difference between rubbery, sad wings and crackling, golden, finger-licking ones almost never comes down to the recipe. It comes down to a handful of small decisions — the coating, the temperature, whether you cover the pan — that most people get wrong on their first ten tries.
So let’s fix that. This guide walks you through everything, step by step, so your very first batch turns out restaurant-quality.
Why Most Beginner Wings Fail
Here’s the honest truth: chicken skin is mostly water and fat. If that water doesn’t evaporate fast enough, it steams the skin instead of crisping it. That’s it — that’s the whole secret behind every crispy wing you’ve ever eaten. Everything in this guide exists to solve that one problem.
What Should You Coat Chicken Wings With?
This is the question that trips up almost everyone. There are really two camps, and honestly, both work — they just work differently.
Cornstarch creates a light, delicate, almost tempura-like crust. It’s excellent if you’re frying, because it browns quickly and stays thin.
Baking powder (make sure it’s baking powder, not baking soda — this mix-up ruins more batches than anything else) works through chemistry, not just coating. It raises the pH of the chicken skin, which helps break down proteins and pull moisture to the surface, where it evaporates instead of steaming the meat. For oven-baked wings specifically, baking powder is the closer thing to a genuine secret ingredient.
My go-to for beginners: a light dusting of cornstarch mixed with a small amount of baking powder (roughly 1 tablespoon baking powder per pound of wings) and salt. You get the best of both — quick browning and that shatter-crisp texture.
Oven or Fryer? Let’s Settle It
Deep-fried wings are undeniably delicious, and if you already own a fryer and are comfortable with hot oil, go for it. But for a beginner, I recommend starting in the oven for three reasons: it’s safer, it’s less messy, and — done correctly — it gets remarkably close to fried texture without a vat of oil on your stovetop.
The trick that makes oven wings work is a wire rack set inside a baking sheet. This lifts the wings off the pan so hot air circulates underneath them too, instead of them sitting in their own rendered fat.
The Step-by-Step Recipe:
Step 1: Dry the Wings — Really Dry Them
Pat each wing with paper towels until it feels almost tacky, not wet. If you’re short on time, let them sit uncovered in the fridge for an hour first — the cold, dry air does some of the work for you. Skipping this step is the single most common reason home-baked wings come out pale and soft.
Step 2: Coat, Don’t Drown
In a large bowl, whisk together the baking powder, cornstarch, salt, garlic powder, and paprika. Toss the wings in this mixture until every piece has a thin, even coating — not a thick, pasty one. Less is genuinely more here.
Step 3: Rack Them, Don’t Stack Them
Place the wings in a single layer on a wire rack positioned over a baking sheet, ensuring there is space between each piece. Avoid crowding, as this can trap steam, which prevents the skin from becoming crispy.
Step 4: Bake Hot and Uncovered
Preheat your oven to 425°F (218°C). This is hotter than a lot of recipes suggest, and that’s intentional — 350°F is fine for gently cooking through, but it won’t render the fat fast enough to crisp the skin. Bake uncovered for 40–45 minutes, flipping once at the halfway point.
Never cover chicken wings while baking. A cover traps the moisture evaporating off the skin and sends it right back onto the wing, undoing everything you just did.
Step 5: Check for Doneness, Not Just Color
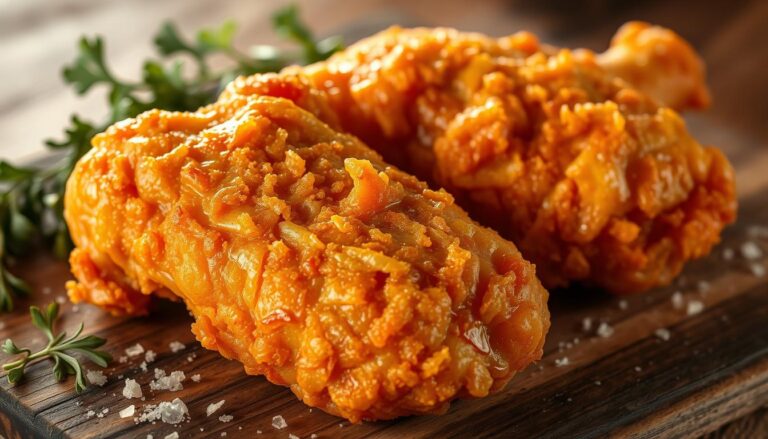
The wings are done when the internal temperature hits 165°F (74°C) and the skin looks deep golden-brown and slightly blistered. If they’re browned but not quite crisp enough for your taste, give them another 5 minutes — they crisp up fast in that final stretch.
Step 6: Toss While Hot
Mix your hot sauce and melted butter together, then toss the wings in it immediately after they come out of the oven. Waiting even ten minutes lets the skin start absorbing moisture from the sauce, softening that crispness you worked for. Serve right away.
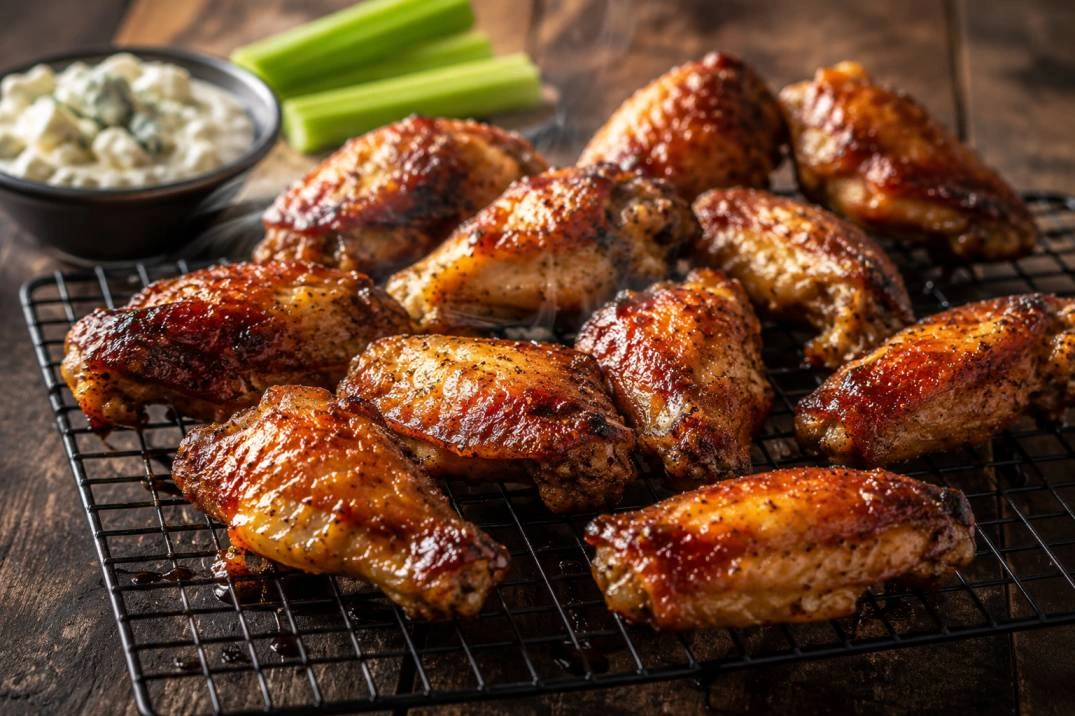
Crispy Chicken Wings (No Deep Fryer Required)
Ingredients
Notes
- Baking powder, not baking powder’s cousin cornstarch, is the real secret to crispy skin — though cornstarch has its own job to do.
- Uncovered, high heat, and a wire rack are the three non-negotiables for oven wings.
- Pat your wings bone-dry before anything touches them. This one step matters more than any sauce.
- 350°F is for gentle cooking. 400–425°F is where crispy skin actually happens.
- You don’t need a deep fryer or years of experience — just the right order of operations.
A Few Pro Notes Worth Knowing
- Marinating is optional for this recipe, but if you want to add one, keep it to 30 minutes to 2 hours in the fridge. Longer than that and the acid in most marinades starts breaking down the texture of the meat itself.
- Boiling wings before baking or frying isn’t necessary with this method — the baking powder does the moisture-pulling work boiling is often used for, without waterlogging the skin.
- Pairing suggestions: classic celery and blue cheese never goes out of style, but a quick pickled slaw or roasted corn on the side rounds out the plate nicely for a full meal.
Frequently Asked Questions
Is it better to bake or fry chicken wings?
Frying gives the crispiest possible result because oil transfers heat faster and more evenly than air. But baked wings, done with a wire rack and high heat, get remarkably close — with far less mess, oil, and risk. For beginners, baking is the better place to start.
Should I bake my wings covered or uncovered?
Always uncovered. Covering wings while baking traps steam against the skin, which is exactly what stops it from crisping. Uncovered, high heat is what dries and browns the skin properly.
Which is better for crispy wings — cornstarch or baking powder?
They do different jobs. Cornstarch creates a light, crisp coating, especially for frying. Baking powder changes the chemistry of the skin itself, pulling moisture to the surface so it evaporates in the oven. For baked wings, baking powder makes the bigger difference; a small amount of cornstarch alongside it gives you the best overall texture.
Should I bake wings at 350°F or 400°F?
Go higher — 400°F to 425°F. At 350°F, wings will cook through, but the fat under the skin won’t render quickly enough to get truly crispy. Higher heat is what turns “cooked” wings into “crispy” ones.
Final Thoughts
Crispy wings aren’t about a secret sauce recipe or an expensive fryer — they’re about understanding what’s actually happening to that skin in the oven, and giving it every chance to lose its moisture instead of trap it. Dry your wings, coat them lightly, rack them, and turn up the heat. That’s really the whole game.
Try this recipe for your next game night or weekend dinner, and let me know in the comments how your first batch turns out — and whether you’re on Team Baking Powder or Team Cornstarch.