Crochet Skull Pattern: A Fun, Bold Amigurumi Project for Any Skill Level
If you’ve been searching for a crochet skull pattern to try, you’re in good company. Skull motifs have become a favorite among crocheters who want something a little edgier than the usual amigurumi animal or a cute little pouch — while still being approachable enough for a weekend project. Whether you’re picturing a plush skull for Halloween, a skull-shaped coaster, or an appliqué to sew onto a bag, this guide walks you through what makes the design fun, what you’ll likely need, and how to approach making one yourself.
What Makes This Crochet Project Special
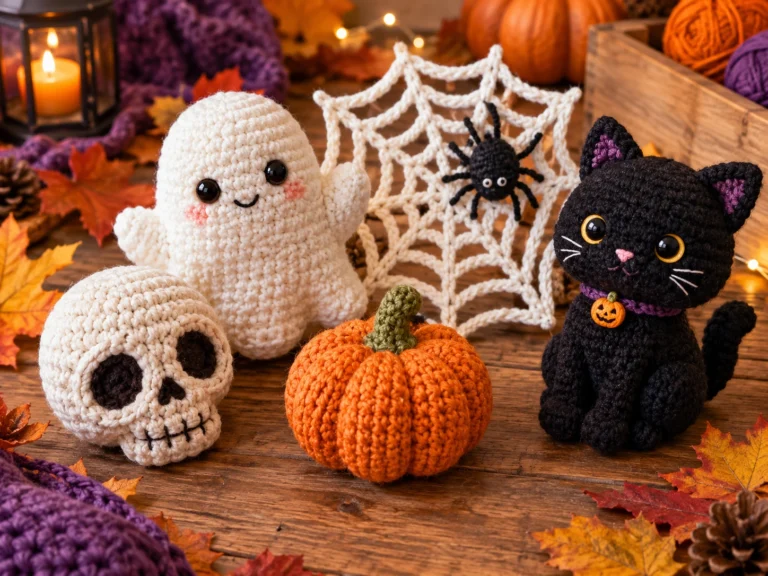
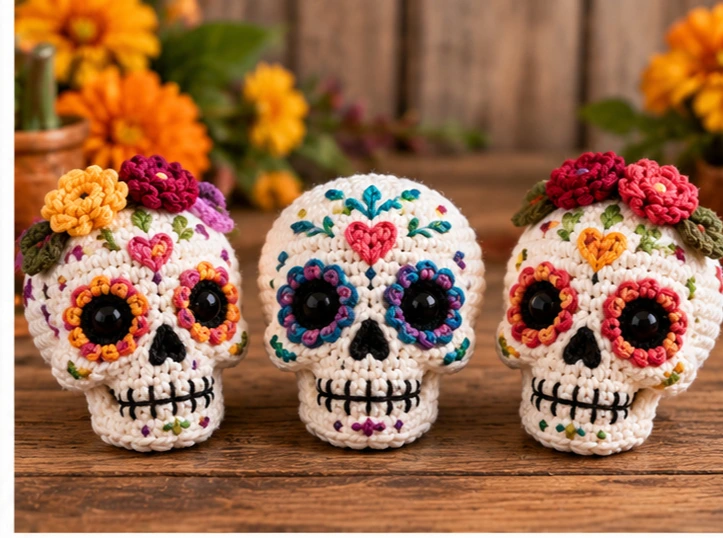
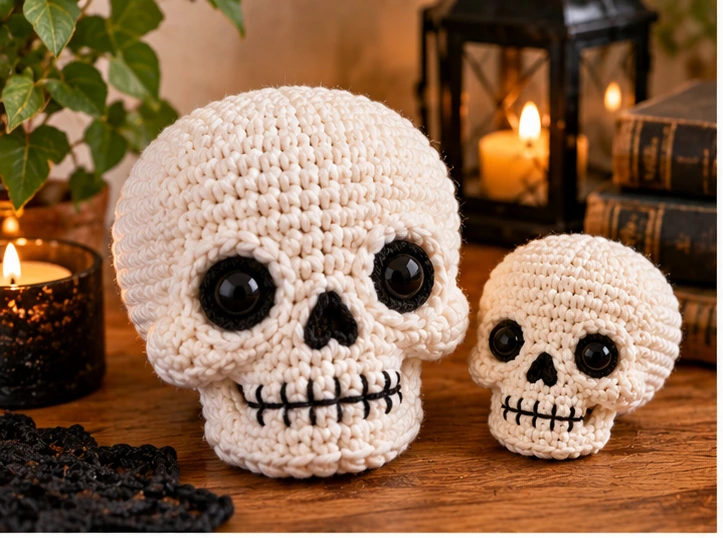
A crochet skull works because it takes a familiar, bold shape and turns it into something soft and playful. The rounded cranium, hollow eye sockets, and small nasal cavity give it instant recognizability, even in a simplified amigurumi style. That contrast — spooky imagery rendered in soft yarn — is part of the appeal, and it’s why skull designs show up so often around Halloween, in gothic-inspired décor, and in quirky gift-giving.
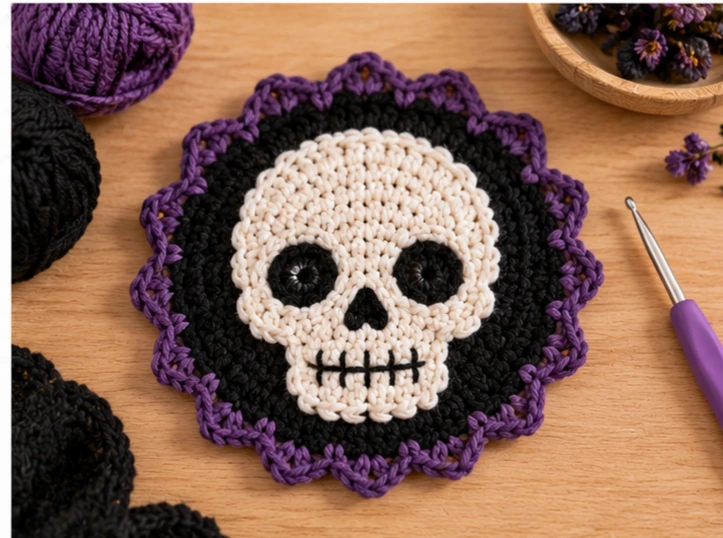
Because the shape is essentially a rounded form with a few smaller features attached or worked in contrasting color, it’s a flexible project. Some versions are worked flat as a two-dimensional motif (great for appliqués, coasters, or patches), while others are built up as a three-dimensional stuffed piece, similar to a standard amigurumi head. The finished look can range from cute and rounded to sharper and more anatomical, depending on how the increases and decreases are shaped.
Materials You May Need
Exact specifications will vary depending on the specific pattern you follow and the finished size you’re aiming for, but most crochet skull projects call for:
- Worsted weight (4) cotton or acrylic yarn in white or off-white for the main skull color
- A small amount of contrast yarn (often black or a dark color) for the eye sockets, nose, and any detail lines
- A crochet hook sized to match your yarn — typically somewhere in the 3.5–5 mm range for worsted weight, though this depends on your yarn choice
- Polyester fiberfill if you’re making a stuffed, 3D version
- A yarn needle for weaving in ends and sewing pieces together
- Stitch markers to keep track of rounds if you’re working in continuous rounds
- Scissors
- Safety eyes or embroidery floss if you want more defined or dimensional eye sockets
If you’re planning a flat version (for a coaster, patch, or wall hanging), you likely won’t need fiberfill, but you may want a backing fabric or a stiffener depending on the intended use.
How to Make It
Starting the Base Shape
Most skull motifs begin with a magic ring or a small foundation chain, then build outward in rounds using single crochet, increasing steadily to form the rounded top of the skull. If you’re working a 3D amigurumi-style skull, this is essentially the same increase pattern used for a standard amigurumi head — gradual increases to widen the circle, then a straight section of even rounds once you reach your desired width.
Shaping the Jaw and Eye Area
Once the rounded cranium section is complete, the lower portion narrows to suggest the jaw and cheekbones. This is usually done with a combination of decrease rounds and, in many patterns, a change in stitch placement to create the slightly squared or tapered lower face shape associated with a skull.
Adding the Eye Sockets and Nose
The eye sockets are typically the most defining feature. Depending on the pattern style, these can be created by:
- Working small dark-colored circles or ovals and sewing them onto the front of the skull, or
- Leaving deliberate gaps or using surface crochet/embroidery to outline hollow sockets directly onto the base shape
The nasal cavity is usually a small triangular or teardrop shape in a contrasting color, embroidered or appliquéd onto the center of the face.
Finishing and Closing Up
If you’re making a stuffed version, stuff firmly but evenly as you work the final rounds, then close the opening and weave in all loose ends securely. For a flat motif, simply weave in ends and, if needed, block the piece so it lies flat.
Tips for a Better Result
- Choose a smooth, consistent yarn. Cotton or a cotton-acrylic blend tends to show stitch definition well, which helps the skull’s features read clearly.
- Keep your tension even, especially around the eye sockets, since uneven stitches are most noticeable in small detail areas.
- Use stitch markers at the start of each round if you’re working continuously — it’s easy to lose track on a shape with frequent increases and decreases.
- Block flat versions before adding embroidery, so the shape sits evenly and the surface details line up correctly.
- Stuff gradually rather than all at once if making a 3D piece, so you can adjust the shape as you go and avoid lumps.
Top 4 Crochet Trends
1. Amigurumi with a Dark or Alternative Twist
Amigurumi has traditionally leaned cute and cartoonish, but there’s growing interest in designs that mix soft, huggable construction with edgier subject matter — skulls, bats, and other Halloween-adjacent motifs among them. You can lean into this by choosing a slightly stylized, rounded shape for your skull rather than an anatomically precise one, keeping the playful amigurumi feel intact.
2. Granny Square and Motif Mash-Ups
Crocheters are increasingly combining traditional motifs, like granny squares, with novelty shapes. A flat crochet skull works well as a centerpiece motif within a larger granny-square blanket or as a patch sewn onto an existing project.
3. Wearable and Accessory Crochet
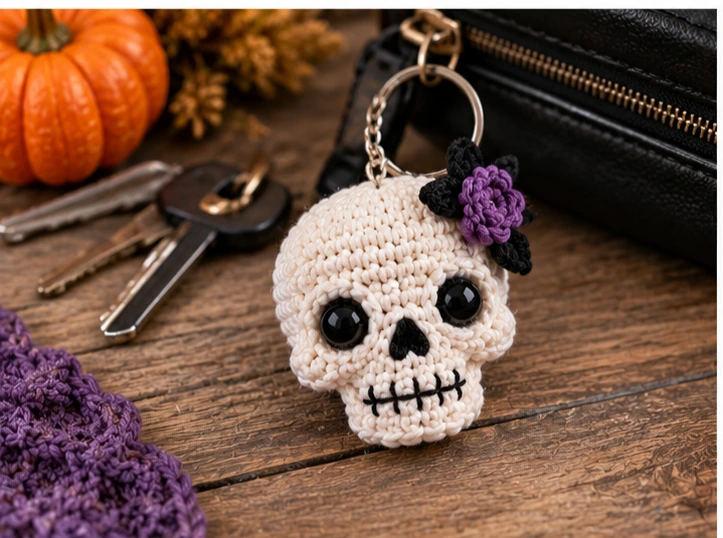
Small amigurumi and appliqué pieces are frequently being repurposed as accessories — keychains, bag charms, and patches. A mini skull motif is a natural fit for this trend, since it’s compact and easy to attach a keyring or clip to.
4. Seasonal and Holiday-Specific Makes
Halloween-themed crochet continues to be a popular seasonal category, with makers creating small batches of holiday-specific items to display, gift, or sell. A crochet skull fits naturally into this niche as a quick seasonal decoration or handmade gift.
Styling and Ideas
- Use a finished skull as a Halloween garland by making several smaller versions and stringing them together.
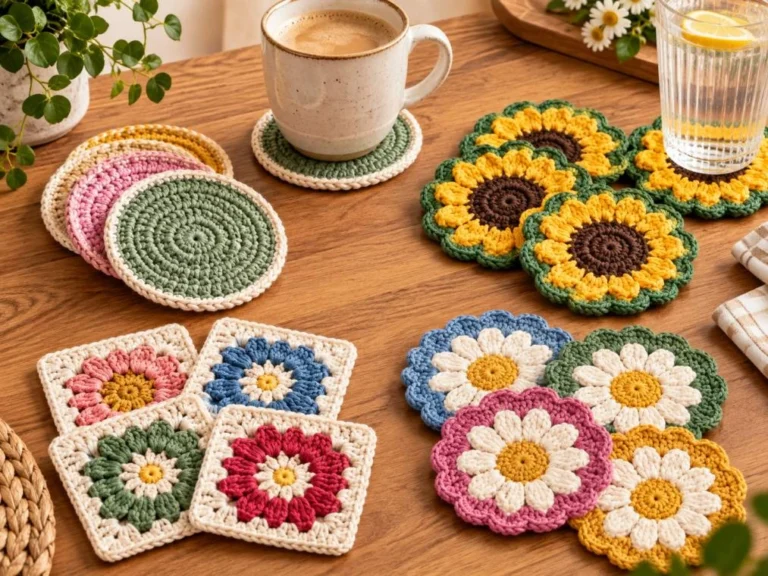
- Turn a flat motif into a coaster set for a gothic-styled coffee table.
- Attach a keyring to a mini version for a bag charm or keychain.
- Sew a flat motif onto a tote bag or jacket as a patch.
- Make a stuffed version in pastel colors for a softer, less spooky décor piece.
FAQs
Is a crochet skull pattern good for beginners?
It depends on the specific design. A simple flat motif with basic increases can be beginner-friendly, while a fully shaped 3D skull with detailed eye sockets is better suited to someone comfortable with amigurumi shaping and color changes.
What yarn works best for a crochet skull?
Worsted weight cotton or acrylic in a smooth, non-fuzzy texture is generally easiest, since it shows stitch definition clearly, which helps the eye sockets and other details stand out.
Can I make a crochet skull without safety eyes?
Yes. Many skull designs skip traditional safety eyes altogether and instead use embroidered or appliquéd dark ovals for the eye sockets, which also makes the piece safer for households with young children or pets.
How do I make my crochet skull bigger or smaller?
Adjusting the yarn weight and hook size is the simplest way to change scale — a thicker yarn and larger hook will produce a bigger finished piece, while thinner yarn and a smaller hook will shrink it, though stitch counts may need slight adjustment to keep proportions balanced.
Conclusion
A crochet skull is a small but satisfying project that lets you play with bold shapes and contrast colors, whether you’re making a soft plush version, a flat appliqué, or a quick seasonal decoration. With just a few basic amigurumi techniques and a little attention to shaping the eye sockets and jawline, you can put your own spin on this fun, versatile design.