How to Make a Christmas Crochet Wind Spinner (Easy Beginner Guide)
There’s something magical about stepping into your yard on a crisp winter morning and seeing a handmade wind spinner catch the breeze. A christmas crochet wind spinner brings that same cozy, festive charm to your outdoor decor, but with the warmth and texture only yarn can provide. If you love quick, satisfying projects that make a big visual impact for very little cost, this is exactly the kind of pattern worth adding to your holiday crochet list.
This guide walks you through what makes this project special, what you’ll likely need to make one, and how to put it all together, even if you’ve never made a spinner before.
What Makes This Crochet Project Special
A wind spinner stands out from typical amigurumi or blanket projects because it’s designed to move. Instead of sitting still on a shelf, it twists and turns outdoors, catching light and color as it spins. That motion is what makes it such a fun, eye-catching addition to a porch, garden stake, or window.
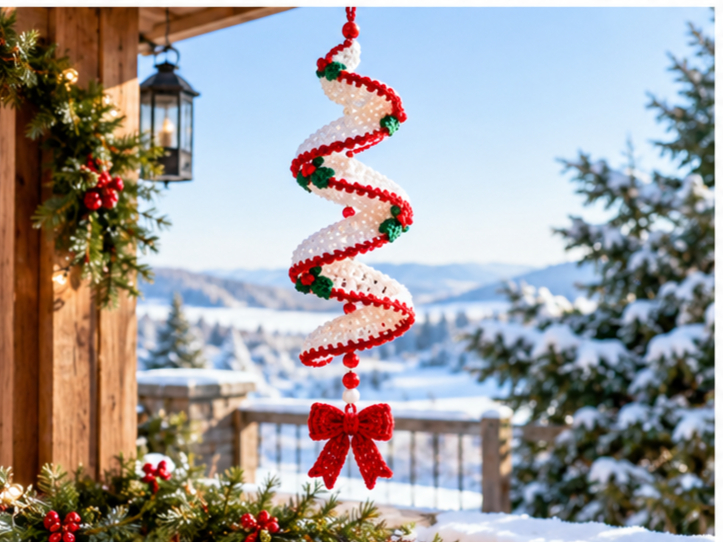
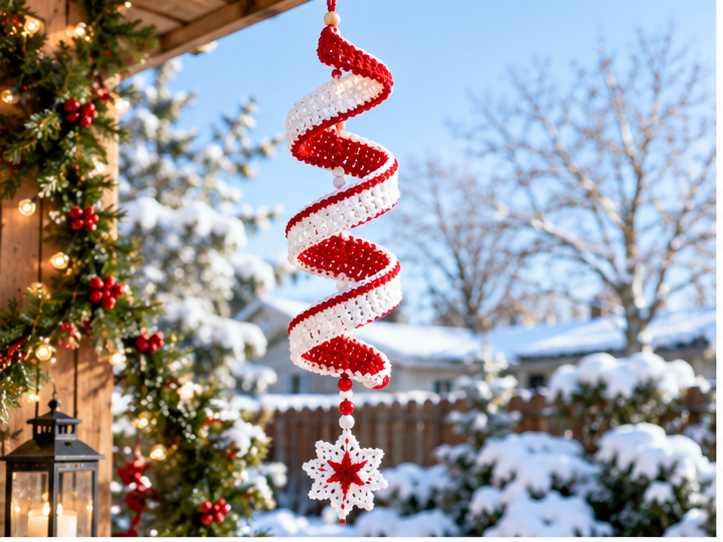
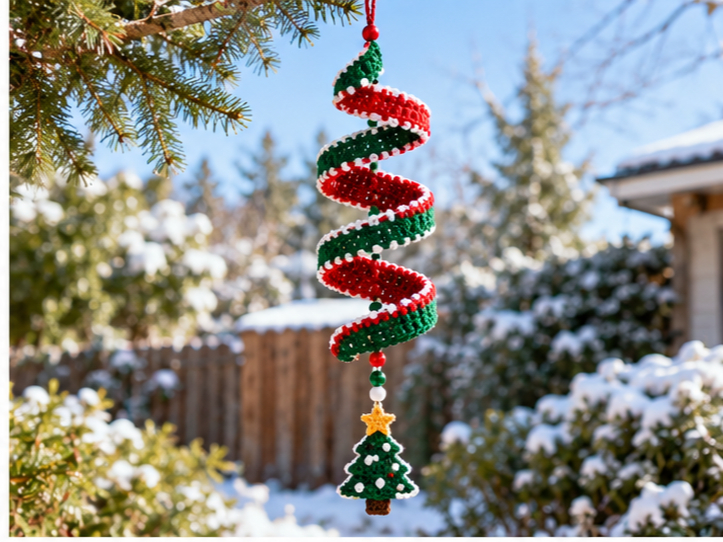
For a Christmas version, the appeal comes from color and shape. Red and white stripes, deep greens, or metallic gold accents instantly read as festive, and the spiral or layered shape typical of these spinners gives the piece a playful, almost candy-cane-like feel. Because it’s small and made from simple repeating stitches, it’s also a forgiving project for someone who wants a fast, rewarding make between bigger holiday projects.
Materials You May Need
Exact yarn weight and hook size will depend on the specific pattern you follow and how large you want the finished spinner to be, but most projects like this call for a similar core kit:
- Worsted weight cotton or acrylic yarn in two or more Christmas colors (traditional red, white, and green are popular, but you can also use gold, silver, or icy blue for a different look)
- A crochet hook sized to match your yarn weight (typically somewhere in the middle range, though you should check your specific pattern or swatch to confirm)
- A sturdy dowel, wire, or wind spinner frame to attach the crochet piece to
- A swivel clip or fishing swivel so the piece can rotate freely in the wind
- Scissors and a yarn needle for weaving in ends
- Optional: a clear waterproof sealant or fabric stiffener if you plan to hang it outdoors long-term
Since wind spinners are exposed to the elements, cotton or acrylic yarn tends to hold up better than delicate natural fibers like wool.
How to Make It
Step 1: Choose Your Shape and Colors
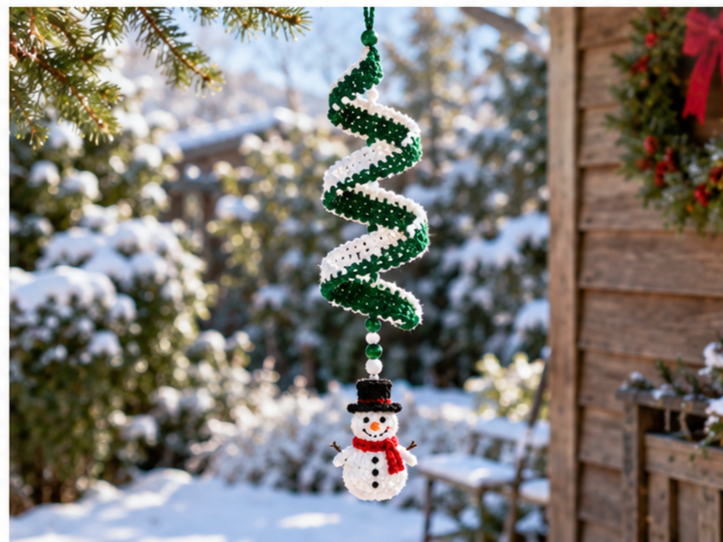
Most crochet wind spinners are built from a spiral, a flat circular motif, or a series of joined shapes like stars or hexagons. Decide on your shape first, since that will determine how you plan your color changes. Alternating red and white in even sections is a classic, high-contrast look that reads well from a distance and shows off the spinning motion.
Step 2: Crochet the Base Motif
Start with a magic ring or small foundation chain, then work in rounds, increasing evenly to keep your piece flat rather than cupped or ruffled. If your pattern calls for spiral rounds without joining, use a stitch marker to keep track of where each round begins so your color changes stay aligned.
Step 3: Add Your Color Changes
Change colors at the start of a new round whenever possible. This keeps the transition clean and avoids visible jogs in your stripes. Carry unused yarn loosely along the wrong side if you’ll need it again soon, or cut and rejoin if the color gap is longer.
Step 4: Shape and Finish the Edges
Once your motif reaches the size you want, work a finishing round, such as a slip stitch or simple border, to give the edge a clean, defined look. This also adds a bit of structure, which helps the piece hold its shape as it spins.
Step 5: Attach to the Spinner Hardware
Weave in all your ends securely, then attach your crocheted piece to the dowel, wire frame, or swivel using strong thread, fishing line, or a needle and matching yarn. Make sure the attachment point is centered so the piece spins evenly rather than wobbling to one side.
Tips for a Better Result
- Choose yarn carefully. Acrylic and cotton blends resist moisture and fading better than wool if the spinner will live outside.
- Keep your tension even. Since this project relies on a clean, symmetrical shape, consistent tension throughout each round makes a noticeable difference in how well it spins.
- Block your motif. Lightly steaming or pinning the piece flat before attaching it to hardware helps it lie smoothly and spin without curling.
- Balance your colors. Distribute your main colors evenly around the piece so the spinner looks balanced in motion, not lopsided when it catches the wind.
- Weatherproof if needed. A light fabric stiffener or clear sealant spray can help protect outdoor pieces from rain and snow.
Top 4 Crochet Trends
1. Nature-Inspired Outdoor Decor
More crocheters are taking their projects outside the living room and into the garden, porch, and patio. A wind spinner fits naturally into this trend since it’s meant to be seen and enjoyed outdoors. You can lean into this by pairing your Christmas spinner with other yarn-based garden accents, like crocheted plant hangers or wreaths.
2. Bold, High-Contrast Color Palettes
Instead of soft pastels, many current crochet projects favor punchy, saturated colors that stand out. For your spinner, this means leaning into a strong red-and-white or green-and-gold combination rather than muted holiday tones, which will also make the spinning motion more visually striking.
3. Quick-Make, Gift-Sized Projects
Small, fast projects that can be finished in an afternoon continue to be popular, especially around the holidays when time is limited. A wind spinner is a great example, since it uses minimal yarn and can realistically be completed in one sitting, making it easy to whip up several as gifts.
4. Mixing Crochet with Non-Fiber Materials
Combining yarn work with hardware like dowels, wire, beads, or swivels is an increasingly common way to give crochet pieces function beyond being purely decorative. This project already embraces that idea, and you can push it further by adding a few wooden beads or a small bell between the crochet piece and the frame.
Styling and Gift Ideas
- Hang a few spinners of different sizes together on a porch or tree branch for a layered look.
- Add a small jingle bell at the bottom for sound as well as movement.
- Make a mini version to clip onto a gift bag or stocking as a decorative topper.
- Coordinate spinner colors with your outdoor lights or wreath for a cohesive holiday display.
- Package one with a matching crocheted ornament for a simple, handmade gift set.
FAQs
Is a christmas crochet wind spinner a good beginner project?
Yes. Most versions rely on basic stitches worked in rounds, which makes them approachable even for newer crocheters, as long as you’re comfortable with simple increases and color changes.
What yarn works best for an outdoor wind spinner?
Cotton and acrylic yarns generally hold up better outdoors than wool, since they resist moisture and are less likely to felt or stretch out of shape in wet weather.
Why isn’t my wind spinner spinning smoothly?
This usually comes down to the attachment hardware rather than the crochet itself. Make sure you’re using a proper swivel or fishing swivel, that the piece is centered, and that there’s no friction where it connects to the frame.
Can I make a crochet wind spinner without a wire frame?
Yes, though a frame or dowel does help the piece hold its shape and spin cleanly. If you don’t have one, a sturdy plastic or wooden hoop can work as a simple alternative base.
Final Thoughts
A christmas crochet wind spinner is a small project with a big payoff. It’s quick enough to finish in an evening, festive enough to brighten up your porch or garden, and flexible enough to customize with whatever colors feel most like your version of the holidays. Whether you’re making one for yourself or a few as handmade gifts, it’s a satisfying way to bring a little movement and color to your holiday decorating.