Chicken Leg Quarters: The Budget Cut That Belongs at Every Dinner Table
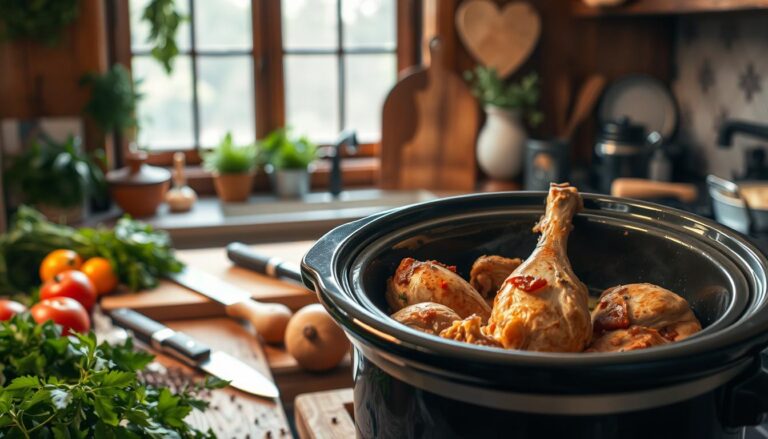
Let me tell you something I wish someone had told me when I was just starting out in the kitchen — chicken leg quarters are one of the best-kept secrets in home cooking. They’re affordable, forgiving, and when cooked right, they’re fall-off-the-bone delicious. Ready to give them a real shot?
What you’ll learn
- What chicken leg quarters actually are and what makes them special
- Why they’re so much cheaper than other cuts — and why that’s a good thing
- The exact method to bake them perfectly at 400°F every single time
- Methods for achieving crispy skin while maintaining moist meat.
- Answers to the most common beginner questions
What exactly is a chicken leg quarter?
If you’ve ever stood in the meat aisle feeling confused, you’re not alone. A chicken leg quarter is made up of two parts: the thigh and the drumstick, still connected at the joint. It comes with the bone in and the skin on — and both of those things are features, not flaws.
You might also wonder: are leg quarters the same as chicken legs? Not quite. A plain chicken leg refers to just the drumstick. A leg quarter includes the thigh as well, which means more meat, more flavor, and a bit more to work with. One leg quarter weighs roughly a quarter of a whole chicken — hence the name.
Compared to chicken breasts, leg quarters have more fat marbled into the meat. Chefs love thighs and drumsticks for exactly this reason: that fat keeps the meat moist during cooking, even if you leave it in the oven a few minutes longer than planned. Breasts, on the other hand, can go dry on you fast. Leg quarters are far more forgiving — which makes them a perfect cut for beginners.
Why are chicken leg quarters so cheap?
Honestly, this question comes up all the time — and the answer is simpler than you’d think. Chicken breasts dominate American demand. They’re seen as leaner and more “versatile” by many shoppers, so grocery stores charge more for them. Leg quarters, being dark meat, are less in-demand domestically, which keeps the price down.
That said, cheap definitely doesn’t mean inferior. In professional kitchens, dark meat is often preferred for braised dishes, roasts, and anything slow-cooked because the higher fat content creates richer, more satisfying flavor. You’re essentially getting a chef’s favorite cut at a fraction of the price.
How to bake chicken leg quarters perfectly at 400°F
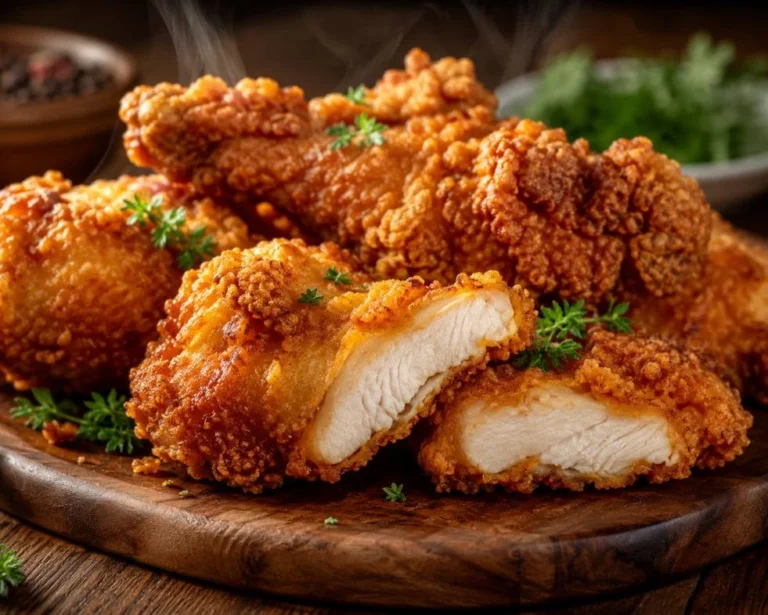
This is the method I recommend to every beginner. It’s straightforward, reliable, and gives you crispy skin with juicy meat — no guesswork required.
Oven-Baked Chicken Leg Quarters
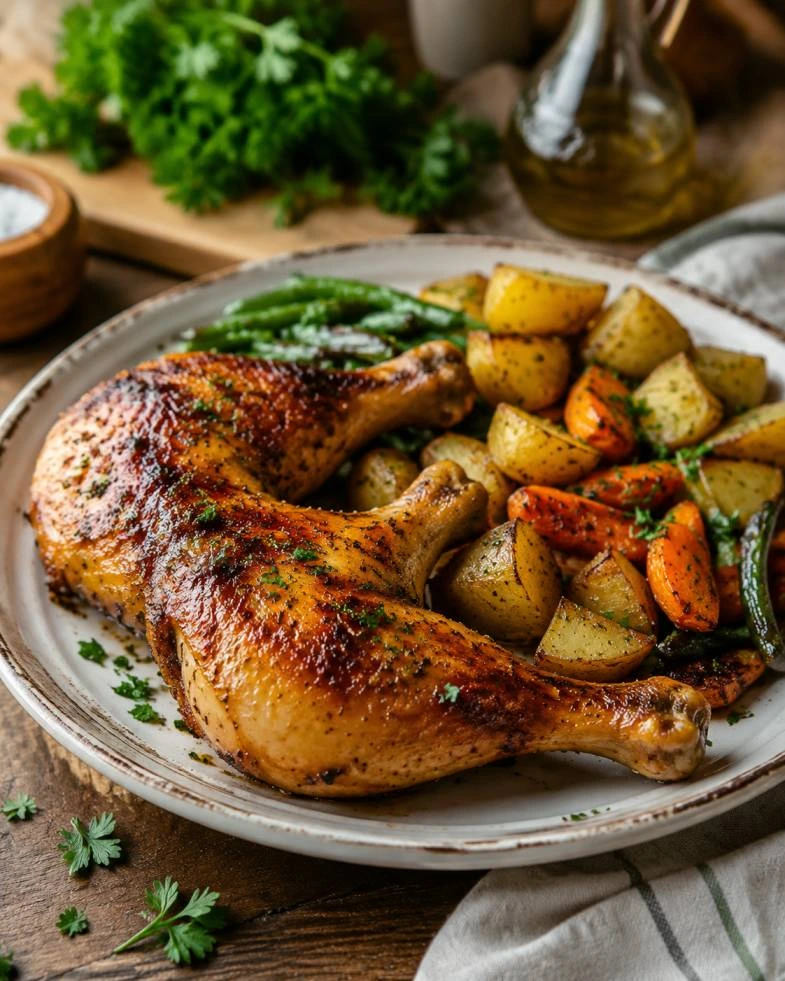
Easy Baked Chicken Leg Quarters (Juicy & Crispy Every Time)
Ingredients
Steps By Steps:
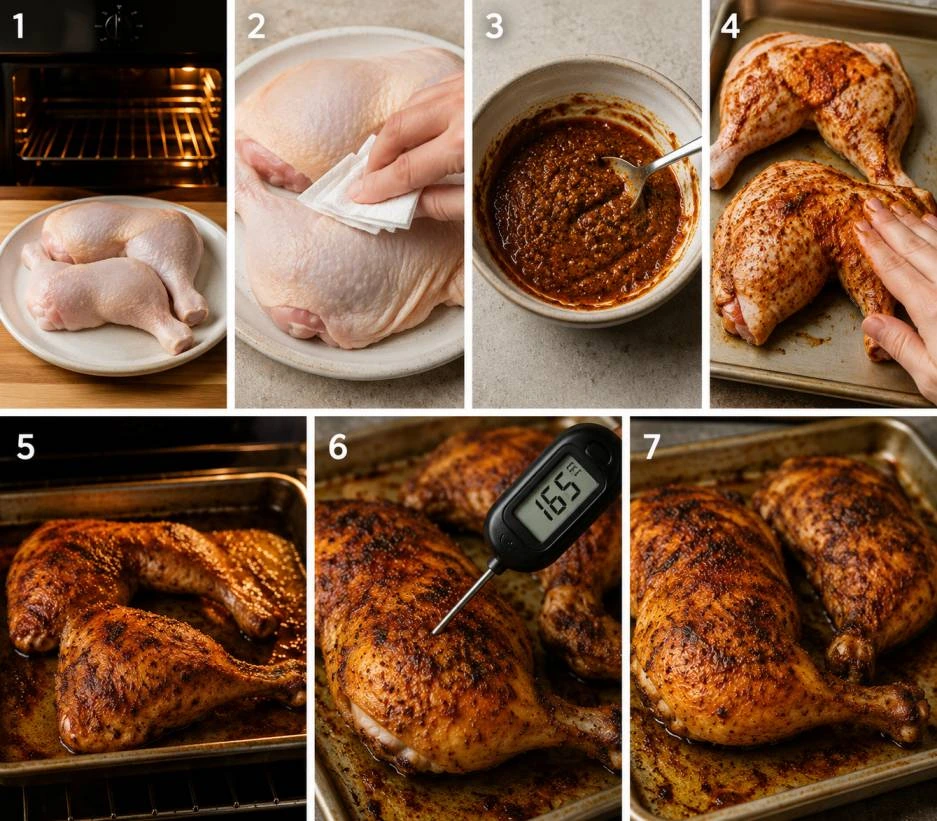
1 – Preheat your oven to 400°F (200°C)
While it heats up, take your chicken out of the fridge and let it sit at room temperature for about 10 minutes. This helps it cook more evenly from edge to center.
2 – Pat the chicken completely dry
using paper towels — top and bottom. This is the most important step for achieving crispy skin. Any moisture left on the surface will steam instead of roast, and steamed skin stays pale and soft.
3 – Mix your seasoning
In a small bowl, combine the olive oil, garlic powder, paprika, onion powder, salt, pepper, and herbs if using. Stir into a loose paste.
4 – Season the chicken generously
Rub the mixture all over each piece — under the skin if you can manage it, and don’t forget the underside. Lay the quarters skin-side up on a rimmed baking sheet or in a baking dish.
5 – Bake uncovered
for 45–50 minutes at 400°F. Do not cover the pan — leaving it uncovered is key to that golden, crispy skin. Covering traps steam and undoes all your prep work from step 2.
6 – Check the internal temperature
The chicken is safe and ready when a meat thermometer inserted into the thickest part of the thigh (not touching bone) reads 165°F (74°C). If it hasn’t hit that yet, give it another 5–10 minutes and check again.
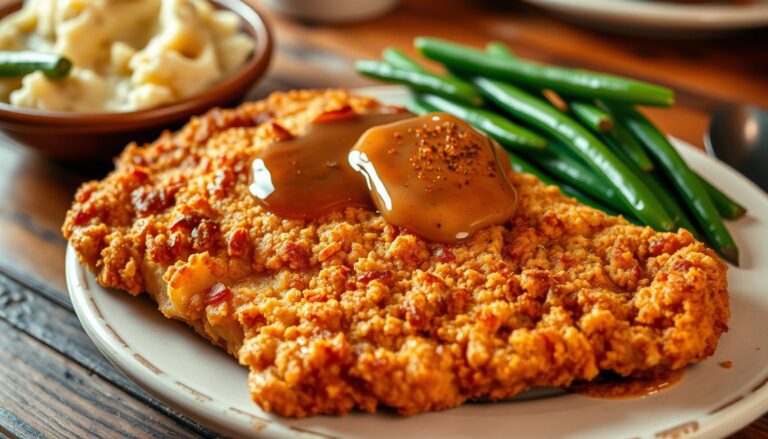
7 – Rest before serving.
Let the chicken sit uncovered on the pan for 5 minutes before plating. This allows the juices to redistribute through the meat, so every bite stays moist instead of running off onto the plate the moment you cut in.
Chef’s tip: Want it to fall off the bone? After hitting 165°F, lower the oven to 325°F, cover loosely with foil, and give it another 20–25 minutes. The extra time breaks down the collagen in the joint and creates that melt-in-your-mouth texture you get at good restaurants.
Should you flip the chicken while baking?
Here’s a question I get a lot from beginners. For leg quarters, you don’t need to flip them. Starting skin-side up and leaving them that way for the entire bake is the right move. The fat under the skin renders down and bastes the meat naturally, while the exposed top crisps up from the dry oven heat.
If you flip them halfway, you risk tearing the skin and losing that crunch you’ve been building for 25 minutes. Keep them skin-side up, trust the process, and let the oven do the work.
Frequently asked questions
Should I bake chicken leg quarters with a cover or without a cover?
Bake them uncovered. An uncovered pan lets hot, dry air circulate around the chicken — exactly what you need for crispy, golden skin. Covering the pan with foil traps steam, and steamed skin turns pale and soft rather than roasted. The only time covering makes sense is if you want fall-off-the-bone tenderness at the end: cook uncovered first to build color, then cover for the final stretch at a lower temperature.
How long do I keep chicken leg quarters in the oven at 400°F?
Plan for 45 to 50 minutes for average-sized leg quarters at 400°F. That said, oven temperatures vary and so does the size of each piece, so always rely on a meat thermometer rather than time alone. The internal temperature at the thickest part of the thigh needs to reach 165°F to be fully safe to eat. If you don’t own a thermometer yet, it’s one of the best small investments you can make as a home cook.
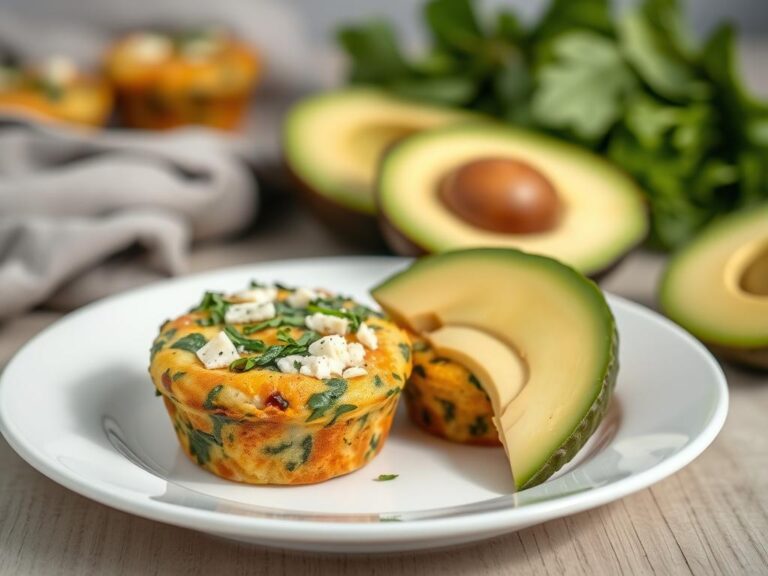
Are chicken leg quarters good for diabetics?
Yes, chicken leg quarters can absolutely fit into a diabetic-friendly diet. They’re a protein-rich, zero-carb food on their own — the key is how you prepare them. Baking or roasting without sugary marinades or breaded coatings keeps them suitable. The dark meat contains more fat than white meat, but dietary fat alone doesn’t raise blood sugar. As always, portions matter, and it’s worth checking with your doctor or dietitian for guidance specific to your health needs.
Is it better to cook chicken leg quarters at 400 or 425°F?
Both temperatures work, but they give slightly different results. At 400°F, you get a more even cook throughout — the inside has time to reach the right temperature before the outside over-browns. At 425°F, the skin crisps up faster and you shave off a few minutes, but there’s less margin for error if your oven runs hot. For beginners, 400°F is the safer, more reliable choice. Once you’re comfortable with the process, try 425°F for extra crunch.
Give it a try this week
Chicken leg quarters are one of the most rewarding cuts to cook at home — affordable, hard to mess up, and deeply satisfying. The next time you’re at the grocery store, grab a pack and put this method to the test. Once you taste the results, they just might become your go-to.