Homemade Baby Food Recipes
10 Best Homemade Baby Food Recipes for Happy, Healthy Babies
Outline
| Section Title | Description |
|---|---|
| Introduction to Homemade Baby Food Recipes | Warm welcome to parents and the benefits of preparing baby food at home. |
| Benefits of Homemade Baby Food Recipes | Discuss health, nutritional, financial, and emotional advantages. |
| When to Start Feeding Solids? | Signs your baby is ready for solid food. |
| Homemade Baby Food Essentials | Tools and prep tips for making baby food. |
| Stages of Baby Food Introduction | Explanation of Stage 1, 2, and 3 baby food. |
| Best Ingredients for Homemade Baby Food | Fresh, seasonal, and nutritious ingredients to use. |
| Foods to Avoid for Babies | Foods that should not be given to babies in their first year. |
| Sweet Potato Puree | Simple, nutrient-rich recipe for beginners. |
| Avocado Mash Recipe | Healthy fats and easy to prepare. |
| Apple Carrot Blend | Natural sweetness and digestive aid. |
| Banana Oatmeal Mash | High in potassium and fiber, great for breakfast. |
| Chicken and Sweet Potato Combo | Protein-rich for growing babies. |
| Pea and Pear Puree | Blend of green goodness and fruit sweetness. |
| Zucchini and Potato Puree | Mild, tummy-friendly combination. |
| Brown Rice and Lentil Blend | Plant protein and iron for older babies. |
| Quinoa and Pumpkin Mix | Nutrient-rich grain and vitamin-loaded veggie. |
| Introducing Textures and Finger Foods | How and when to start with chunkier food. |
| Safe Finger Food Ideas | List of safe, nutritious first finger foods. |
| Creating a Feeding Schedule | Tips for building a consistent meal routine. |
| Batch Cooking & Storage Tips | How to save time and store baby food safely. |
| Homemade Baby Food for Allergies | Creating safe food for sensitive babies. |
| Organic vs. Non-Organic Ingredients | What’s best for baby food? |
| Homemade vs. Store-Bought Comparison | Benefits and downsides of both options. |
| Food Safety Guidelines | Essential hygiene and storage tips. |
| Common Feeding Mistakes to Avoid | Top things new parents often get wrong. |
| Hydration for Babies | When and how to introduce water. |
| Using Herbs and Spices in Baby Food | Safe flavor enhancers for older babies. |
| Homemade Baby Snacks for Toddlers | Simple recipes to transition into toddlerhood. |
| Travel-Friendly Homemade Baby Meals | Easy-to-pack baby meals for trips. |
| Grandma’s Baby Food Secrets | Timeless tips and traditional recipes. |
| FAQs About Homemade Baby Food Recipes | Answering common parent questions. |
| Final Thoughts on Homemade Baby Food Recipes | Encouragement and recap of benefits. |
Homemade Baby Food Recipes
Introducing solids is a memorable milestone, and homemade baby food recipes bring peace of mind and better nutrition. These recipes empower you to nourish your baby with love, ensuring only the freshest ingredients touch their growing bodies.
Creating food from scratch helps avoid preservatives, added sugars, and questionable additives. With homemade baby food, every spoonful becomes a gesture of love, safety, and health.
Benefits of Homemade Baby Food Recipes
Homemade baby food recipes offer incredible advantages:
- Nutrient-Rich: Homemade food retains essential vitamins and minerals often lost in industrial processing.
- Customizable: Adapt flavors and textures to your baby’s development.
- Cost-Effective: Bulk cooking with seasonal produce saves money.
- Allergen Control: Know exactly what’s in your baby’s food.
- Environmentally Friendly: Reduce waste with reusable containers and minimal packaging.
This way, you feed your baby with clarity and confidence.
When to Start Feeding Solids?
Look for these signs around 6 months:
- Can sit with minimal support
- Shows interest in your food
- Has lost the tongue-thrust reflex
- Doubled their birth weight
Always consult a pediatrician before starting solids.
Homemade Baby Food Essentials
You don’t need fancy tools, just:
- Steamer basket
- Food processor or blender
- Ice cube trays
- Fine mesh sieve
- BPA-free containers
- Baby-safe utensils
Keeping everything sanitized is crucial for your baby’s safety.
Stages of Baby Food Introduction
Stage :
(6–7 months): Smooth purees like carrot or sweet potato.
(7–9 months): Thicker purees and simple combos like apple-carrot.
(9–12 months): Chunky mashes and soft finger foods like banana slices or cooked pasta.
Each stage supports motor and digestive development.
(Continued in next message…)
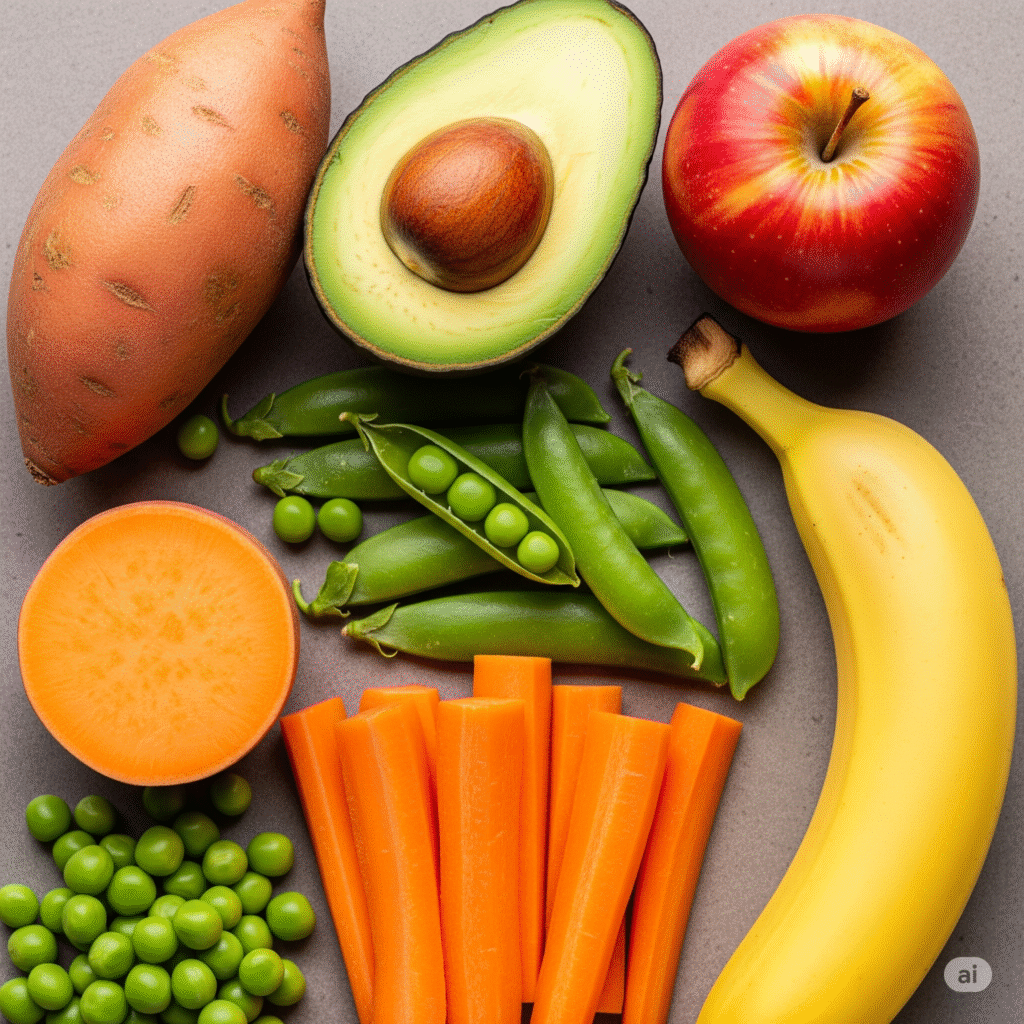
Best Ingredients for Homemade Baby Food
Choosing the right ingredients is the secret sauce to successful homemade baby food recipes. Focus on:
- Sweet Potatoes – High in beta-carotene and fiber.
- Avocados – Loaded with healthy fats.
- Apples – Mild, sweet, and easy to digest.
- Carrots – Great source of Vitamin A.
- Bananas – Naturally sweet and soft.
- Green Peas – Small but mighty in protein and iron.
- Brown Rice & Lentils – Rich in plant-based protein.
- Pumpkin – Soft texture and full of nutrients.
- Chicken/Turkey – Lean proteins to build strength.
Always choose fresh, organic where possible, and seasonal for maximum flavor and nutrition.
Foods to Avoid for Babies
- Honey: Risk of infant botulism.
- Cow’s Milk (as a drink): Not before 12 months.
- Whole Nuts & Popcorn: Choking hazard.
- High-mercury Fish: Avoid swordfish, king mackerel.
- Sugary or Salty Foods: Harmful to baby kidneys.
- Unpasteurized Foods: Risk of bacterial infections.
Safety first!
Sweet Potato Puree
Why it’s perfect: Sweet, smooth, and packed with Vitamin A.
Instructions:
- Peel and cube sweet potato.
- Steam until soft.
- Blend with a bit of breast milk or water.
- Serve warm or freeze for later.
Avocado Mash Recipe
Why it’s great: No cooking needed!
Instructions:
- Scoop out half an avocado.
- Mash with a fork or blend with milk/formula for a creamy texture.
- Serve immediately to avoid browning.
Apple Carrot Blend
Sweet, earthy, and ideal for digestion.
Instructions:
- Peel, dice and steam one apple and one carrot.
- Blend together until smooth.
- Add water or milk to adjust consistency.
Banana Oatmeal Mash
Heart-healthy and a filling breakfast.
Instructions:
- Cook plain oats with water.
- Mash with a ripe banana.
- Thin with milk or formula if needed.
Chicken and Sweet Potato Combo
Protein-packed and delicious.
Instructions:
- Cook chicken thoroughly.
- Blend with steamed sweet potato and a splash of low-sodium broth or milk.
- Puree to desired texture.
Pea and Pear Puree
Vibrant, sweet and nutritious.
Instructions:
- Steam peas and diced pear.
- Blend until silky smooth.
- Strain if necessary for extra smoothness.
Zucchini and Potato Puree
Gentle on the tummy.
Instructions:
- Steam peeled zucchini and potato.
- Blend until creamy.
- Add water to adjust texture.
Brown Rice and Lentil Blend
Plant protein power.
Instructions:
- Cook lentils and rice separately.
- Combine and blend with cooking liquid.
- Ideal for older babies starting protein.
Quinoa and Pumpkin Mix
Iron and vitamins galore.
Instructions:
- Steam pumpkin.
- Cook quinoa.
- Blend together for a fiber-filled dish.
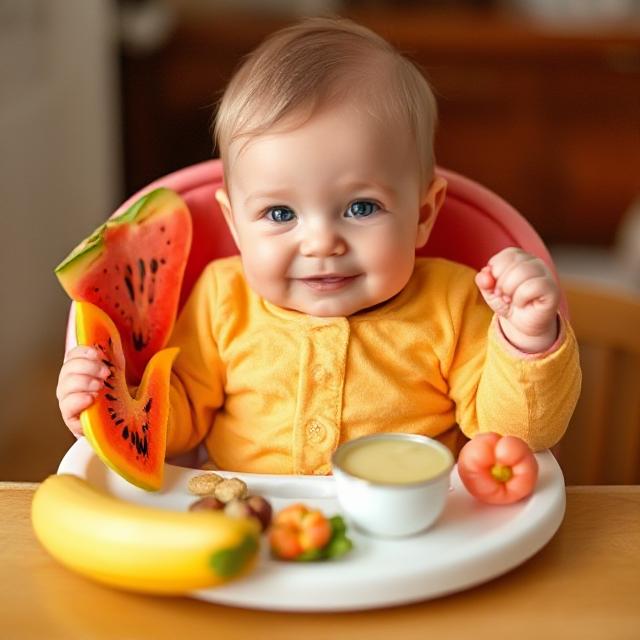
Introducing Textures and Finger Foods
By 9 months, start offering soft textures:
- Soft Fruits: Banana, ripe pear, cooked apple.
- Cooked Veggies: Carrot sticks, green beans.
- Tiny Pasta Shapes: Star pasta, orzo.
- Shredded Chicken or Tofu: Easy-to-chew proteins.
Finger foods promote independence and coordination.
Safe Finger Food Ideas
As your baby gains more control over their pincer grasp, introduce:
- Soft-cooked pasta (cut into small pieces)
- Ripe banana coins
- Steamed carrot sticks
- Mini pancakes made with oats and banana
- Small cubes of well-cooked sweet potato
- Avocado chunks
- Small strips of toast with mashed fruit
Avoid anything too hard, sticky, or round that could pose a choking risk.
Creating a Feeding Schedule
A feeding schedule helps build consistency and healthy habits:
- 6–8 months: 2 meals a day
- 8–10 months: 3 meals a day, possibly a snack
- 10–12 months: 3 meals + 1–2 snacks
Always breastfeed or formula-feed alongside solids until at least 12 months.
Batch Cooking & Storage Tips
- Cook in bulk and freeze in labeled ice cube trays.
- Once frozen, transfer to freezer bags (label with date & contents).
- Use within 1–3 months for best quality.
- Always thaw in the fridge or warm using a bowl of hot water (avoid microwaving unevenly).
Homemade Baby Food for Allergies
If your baby has allergies or intolerances, stick to:
- Single-ingredient foods
- Wait 3–5 days between new introductions
- Watch for reactions like rash, diarrhea, vomiting, or fussiness
Consult your pediatrician if allergies are suspected.
Organic vs. Non-Organic Ingredients
Organic foods:
- Are grown without synthetic pesticides
- Tend to be fresher and eco-friendly
However, even non-organic produce washed properly is still a great option for homemade baby food. Prioritize the Dirty Dozen for organic if budget is a concern.
Homemade vs. Store-Bought Comparison
| Feature | Homemade Baby Food | Store-Bought Baby Food |
|---|---|---|
| Ingredients | You control every ingredient | May contain preservatives or fillers |
| Nutrition | Retains more nutrients when fresh | Heat processing reduces nutrients |
| Cost | Cheaper in bulk | Can be expensive |
| Flavor | More variety | Often bland |
| Environmental Impact | Less packaging waste | More packaging |
Food Safety Guidelines
- Always wash hands and surfaces before preparing food.
- Use clean, sterilized tools and containers.
- Don’t leave food at room temp for more than 2 hours.
- Refrigerate leftovers within 2 hours.
- Reheat only once and discard uneaten leftovers.
Common Feeding Mistakes to Avoid
- Introducing too many new foods at once
- Feeding while lying down (choking risk)
- Adding salt, sugar, or honey
- Ignoring baby’s cues for fullness
- Not supervising while baby eats finger foods
Hydration for Babies
- Offer small sips of water with solid meals after 6 months.
- Breastmilk/formula should still be the primary fluid until 12 months.
Using Herbs and Spices in Baby Food
Once your baby is 8+ months old, you can experiment with mild herbs:
- Cinnamon (in apple or oatmeal)
- Basil (with sweet potatoes)
- Dill (with carrots)
- Garlic (in lentil blends)
Avoid spicy, salty, or strong seasonings.
Homemade Baby Snacks for Toddlers
- Mini muffins made with mashed banana and oats
- Fruit and veggie smoothies
- Soft fruit pieces
- Whole grain toast with avocado or fruit puree
Travel-Friendly Homemade Baby Meals
- Frozen cubes in insulated containers (thaw gradually)
- Squeeze pouches filled with your own blends
- Cooked veggie sticks
- Banana-oat pancakes
Grandma’s Baby Food Secrets
Grandma always says:
- “Start simple, keep it fresh.”
- “Taste everything you serve – if you wouldn’t eat it, neither should baby.”
- “Love is the main ingredient.”
FAQs About Homemade Baby Food Recipes
Is homemade baby food healthier than store-bought?
Yes, because it contains no preservatives, additives, or excess sugar/salt. You also get more nutrients when using fresh produce.
Can I freeze all types of baby food?
Most purees freeze well except avocado and banana, which may change color or texture. Use these fresh when possible.
How long can homemade baby food be stored?
Refrigerate for up to 3 days. Freeze for up to 3 months in airtight containers.
Do I need to use organic ingredients?
Not necessarily. Just wash all produce thoroughly. Organic is ideal but not required.
How can I prevent food allergies?
Introduce one new food at a time, waiting 3–5 days before introducing another. Look for any signs of reaction.
Can I season baby food?
Yes, but only with mild herbs after 8 months. Avoid salt, sugar, and hot spices.
Final Thoughts on Homemade Baby Food Recipes
Making homemade baby food recipes isn’t just a healthy choice – it’s an act of pure love. You’re shaping your baby’s tastes, building lifelong healthy habits, and giving them a nutritious start that sets the foundation for their well-being.
It may take a little extra effort, but each spoonful made with your hands delivers more than nutrients – it delivers comfort, care, and the flavor of home.
So grab your blender, pick some fresh produce, and start creating magic in the kitchen. Your baby deserves it – and so do you.